How To Replace Toilet Bolts: The Complete Guide
Toilet bolts are responsible for securing the toilet to the floor. Over time, they may become loose, rusted, or damaged, leading to leaks, wobbling toilets, or other issues that can affect the functionality and appearance of your bathroom. So, how do you know when to replace your toilet bolts?
Replacing toilet bolts is a common repair job many must do to ensure a properly functioning toilet. Fortunately, it’s a relatively straightforward task that anyone can successfully do. With the right tools, basic knowledge, and patience, you can quickly replace old, worn-out toilet bolts.
The rest of this article will provide a complete guide on replacing toilet bolts. The guide will cover all the steps required to complete this task, including the tools and materials you’ll need, step-by-step instructions, and tips to make the process as smooth as possible. Let’s dive right in!
What Are Toilet Bolts, and Why Do They Need To Be Replaced?
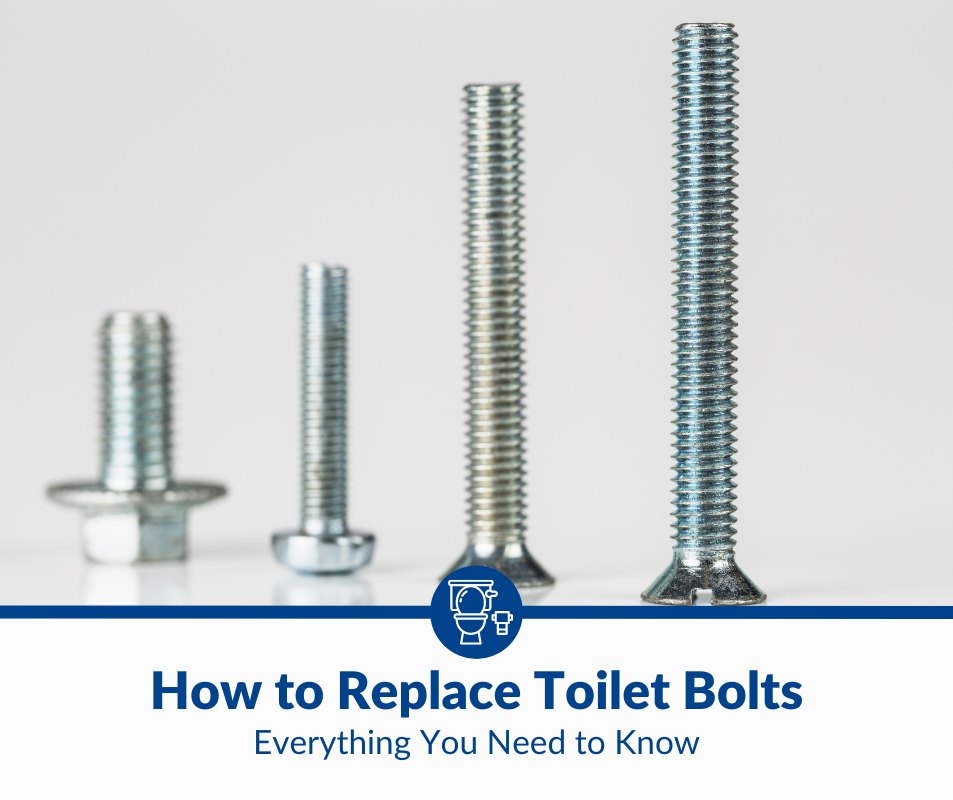
Toilet bolts are small metal rods to secure the toilet to the floor. They’re typically located at the base of the toilet and connect the toilet to the flange, a ring-shaped pipe fitting attached to the waste pipe on the floor.
Toilet bolts are an essential component of toilet installation, as they play a critical role in securing the toilet to the floor. These bolts provide a secure connection between the toilet and the flange, a ring-shaped pipe fitting attached to the waste pipe on the floor. This connection ensures the toilet is stable and in the correct position, preventing leaks and other issues.
When the toilet is installed, the bolts are inserted through holes in the base and screwed into the flange. The nuts are then tightened onto the bolts to secure the toilet. This creates a tight seal between the toilet and the flange, which is essential in preventing leaks and ensuring proper drainage.
The stability of the toilet also depends on secure and properly-tightened bolts.
Common Reasons for Needing To Replace Toilet Bolts
There are several common reasons why toilet bolts may need to be replaced:
- Rust. Toilet bolts can rust over time, especially if they’re exposed to continuous moisture. This causes oxidation and rust and can weaken the bolts, making them less effective at holding the toilet in place.
- Loosening. Toilet bolts can become loose over time, which can cause the toilet to wobble or move around. This can be caused by wear and tear or by poor installation.
- Damage. Toilet bolts can become damaged due to over-tightening, incorrect installation, or general wear and tear. Damaged bolts cannot secure the toilet properly and may need to be replaced.
- Leakage. Toilet bolts that are loose, rusted, or damaged can cause leaks around the toilet’s base, resulting in water damage to your floor and walls.
- Upgrading. Toilet bolts may need to be replaced when you upgrade your bathroom fixtures. This ensures the new fixtures are properly secured to the floor.
In any of the above cases, it’s important to replace the toilet bolts to ensure the toilet is securely attached to the floor and to prevent leaks, wobbling, or other issues that can affect the functionality and appearance of your bathroom.
Tools and Materials Needed for Replacing Toilet Bolts
Before replacing your toilet bolts, you’ll need to ensure you have the necessary tools and materials. You’ll need the following items:
- New toilet bolts and nuts
- A flat-head screwdriver
- A pipe wrench or adjustable wrench
- A pair of pliers
- A wax ring
- Plastic caps
- Spray lubricant, such as WD-40
Having these items on hand before starting the repair is important because it ensures you have everything you need to complete the job. It will also save you time and hassle by not having to stop in the middle of the repair to go and buy any missing items.
You can buy these items from any DIY store or online. Before buying the bolts and nuts, make sure they’re compatible with your toilet.
Most people are unfamiliar with buying wax rings, and if you need a recommendation, I suggest considering Fluidmaster 7513 Wax Ring from Amazon. It’s cost-effective and simple to install, even for beginners.
Step-by-Step Guide for Replacing Toilet Bolts
Replacing toilet bolts is a simple process, and here is a step-by-step guide on how to do it:
1. Shut Off the Water Supply
Before starting the job, it’s important to shut off the water supply to the toilet. This can typically be done by turning off the valve behind the toilet or near the main water supply.
By shutting off the water supply, you’ll prevent any water from flowing into the bowl, making the repair more difficult and increasing the chances of a messy situation.
2. Empty the Tank
Once the water supply is shut off, flush the toilet to empty the tank and bowl. Use a bucket to catch any remaining water, and use a wad of paper towels to mop up any residual moisture.
This will make it easier to remove the old bolts and prevent any water from spilling onto the floor during the repair. Place a few towels around the toilet’s base to absorb any water that might leak during the repair, causing damage to the floor.
3. Remove the Old Bolts
Here’s how to remove the old bolts:
- Locate the bolts: Look at the toilet’s base and locate the bolts that hold the toilet to the floor. They’re typically located at the back of the toilet and are covered by plastic caps.
- Spray the bolts with a lubricant (such as WD-40) to loosen them and make them easier to remove.
- Remove the caps: Use a flat-head screwdriver to remove the caps covering the bolts. Be careful not to damage the caps, as you’ll need them later to cover the new bolts.
- Loosen the nuts: Use an adjustable wrench to loosen the nuts holding the bolts in place. If the nuts are rusted or difficult to remove, use pliers to help loosen them.
- Remove the bolts: Carefully remove the nuts from the flange once the nuts are loose. Be careful not to damage the flange as you remove the bolts.
4. Installing the New Bolts and Nuts
Now that you’ve prepared the area and removed the old bolts, you can install the new ones.
Below is a detailed step-by-step guide on installing the new bolts and nuts:
- Place the new wax ring on the bottom of the toilet. Carefully place the new wax ring over the flange, ensuring it’s centered and pressed firmly. This creates a seal between the toilet and the flange, helping to prevent leaks.
- Insert the new bolts. Insert the washers into the bolts before sliding the bolts through the holes in the toilet’s base and into the flange. The threads of the bolts should be lined up with the flange, and the head of the bolt should be facing up.
- Position the toilet. Carefully lift the toilet and position it over the bolts. The toilet should be centered over the flange, and the bolts should fit into the holes in the toilet’s base.
- Slide the plastic cap rings over the bolts and screw the nuts onto the bolts with your hands, being careful not to cross-thread them. Ensure the toilet is level and stable before tightening the nuts with a wrench.
- Secure the bolts with nuts. Using a pipe wrench, carefully tighten the nuts firmly to secure the bolts. Don’t over-tighten the nuts, as this can crack the porcelain or damage the flange.
- Turn on the water supply. Turn the valve back on to restore the water supply and allow the tank to refill.
5. Seal the Bolts With Wax
The final step in replacing toilet bolts is to seal the bolts with wax to prevent leaks and ensure that the toilet remains securely attached to the floor.
To seal the bolts with wax, follow the steps below:
- Apply a small amount of waterproof plumbing wax around the base of the toilet, making sure you cover the bolts and nuts completely.
- Replace the caps. Once the bolts are completely covered in wax, replace the plastic caps over the bolts to protect them from dirt and debris and give them a finished look.
6. Test the Stability and Security of the Toilet
Now that you’ve successfully replaced the toilet bolts, it’s important to test your toilet’s stability and security.
Here’s how to test your toilet:
- Check for leaks. Place a few pieces of toilet paper around the base of the toilet and flush it to ensure there are no leaks. Ensure the wax ring is properly sealed around the toilet’s base and the bolts are tightened securely (but not overtightened).
- Check the level. Carefully check that the toilet is level and stable. Use a level to ensure the toilet does not lean to one side. Adjust the bolts and nuts as necessary to level the toilet.
- Test the stability. Carefully sit on the toilet to test its stability and security. The repair is complete if the toilet appears stable and doesn’t wobble. If the toilet is still unstable, adjust the bolts and nuts as necessary.
Tips for Successfully Replacing Toilet Bolts
Replacing toilet bolts is a relatively straightforward process. Still, there are some tips you should follow to ensure that you do it correctly:
Clean the Area Before and After the Repair
Before starting the repair, clean the area around the toilet. This will help you identify leaks or damage and make the repair process easier. After the repair is complete, use a rag to clean up any spills or messes that may have occurred during the repair. This will help keep the bathroom clean and prevent any accidents.
Use the Appropriate Tools and Materials
The first and most important tip for successfully replacing toilet bolts is to use the appropriate tools and materials.
This includes the following:
- New toilet bolts and nuts
- A screwdriver
- A wrench
- Pliers
- A wax ring
- Plastic caps
- A Clean rag to mop up any spills
Follow the Manufacturer’s Instructions
Consult the manufacturer’s instructions for your toilet before starting the repair. These instructions will provide specific information on the required bolts and nuts and the recommended installation process.
Not all toilets are the same, so it’s important to follow the manufacturer’s instructions to ensure the repair is done correctly.
Ensure the Toilet Is Level and Stable
Before tightening the bolts and nuts, ensure the toilet is level and stable. A slightly off-balance toilet can cause various problems, ranging from water leakage to structural damage. Check the toilet’s levelness using a level before tightening the bolts and nuts. If the toilet isn’t level, adjust the bolts and nuts accordingly before continuing.
Tighten the Bolts Securely But Don’t Over-Tighten
While it’s important to tighten the toilet bolts securely, you should also avoid over-tightening them. Over-tightening can damage the porcelain or the toilet flange or cause the bolts and nuts to break, leading to leaks or instability of the toilet. When tightening the bolts, use a wrench and alternate between each bolt until they’re tight enough to keep the toilet level and stable.
Check for Leaks After the Repair Is Complete
Once the repair is complete, check for leaks around the toilet’s base to ensure everything was installed correctly. Place a few pieces of toilet paper around the toilet’s base and flush it to check for leaks. If no leaks are present, then the repair is complete.
However, if you notice any leaks, the wax ring might not be properly sealed, or the bolts may need to be tightened further. This will prevent any further damage and save you money in the long run.
Check for Other Damage
While removing the toilet, it’s a good idea to check for other damage around the toilet’s base and the flange. The toilet may have shifted slightly and caused some damage. Look for signs of leaks, cracks, or damage to the porcelain or flange. If you notice any damage, repair it before installing the toilet again.
Take Your Time
Replacing toilet bolts requires patience. Take your time and follow all the steps above to ensure that you do it properly. Don’t rush the process; be gentle when removing the old bolts to prevent any damage to the flange or surrounding areas. Replacing your toilet bolts will be a much easier and simpler process with careful consideration and following the instructions.
Frequently Asked Questions
Below are some of the most frequently asked questions about replacing toilet bolts:
How Often Do I Need To Replace My Toilet Bolts?
How often you need to replace your toilet bolts depends on how often the toilet is used, the quality of the bolts, and the overall condition of the bathroom. It’s recommended to check the bolts every six months to a year and replace them as needed.
If you notice any signs of rust, looseness, or damage, it’s best to replace the bolts as soon as possible. Leaving a loose or poorly-secured toilet bowl runs the risk of damaging the porcelain and causing damage to your bathroom.
Is It Difficult To Replace Toilet Bolts?
It isn’t difficult to replace toilet bolts and it’s a straightforward task. However, it’s essential to do it correctly to avoid leaks and ensure the stability and security of your toilet. It’s recommended you consult the manufacturer’s instructions for your toilet.
You can also hire a professional plumber if you need clarification on any step in the process.
What Are the Common Signs That My Toilet Bolts Need To Be Replaced?
Common signs that your toilet bolts need to be replaced include rust, looseness, and damage. If you notice any of these signs, it’s best to replace the bolts as soon as possible to prevent further damage and ensure that your toilet is securely attached to the floor.
Additionally, if you notice any leaks around the toilet’s base, it’s a good indication that the bolts need to be replaced.
How Tight Do Toilet Bolts Need To Be?
Toilet bolts should be tightened enough to secure the toilet firmly to the floor but not so tight that they crack the porcelain or damage the flange. It’s important not to over-tighten the nuts as this can cause damage to the toilet and flange.
To ensure the proper tightness, you can use a wrench to tighten the nuts to the manufacturer’s recommendations or consult a professional plumber for advice.
Conclusion
Replacing toilet bolts is an important task many homeowners must tackle at some point. Properly replacing toilet bolts can prevent leaks, wobbling, and damage to the surrounding areas.
Using the appropriate tools and materials, following the manufacturer’s instructions and safety precautions, tightening the bolts securely but not over-tightening, and checking for leaks after the repair is complete are all important steps in replacing toilet bolts.
I hope this article has provided you with the information and guidance you need to confidently replace your toilet bolts. Feel free to share your experiences and tips for replacing toilet bolts.


