Parts of a Toilet Tank: The Complete Guide
A toilet tank is an essential component of a toilet that holds water and releases it into the bowl when flushed. The different parts of a toilet tank work together to provide the power and water necessary for flushing, as well as to ensure the toilet functions appropriately.
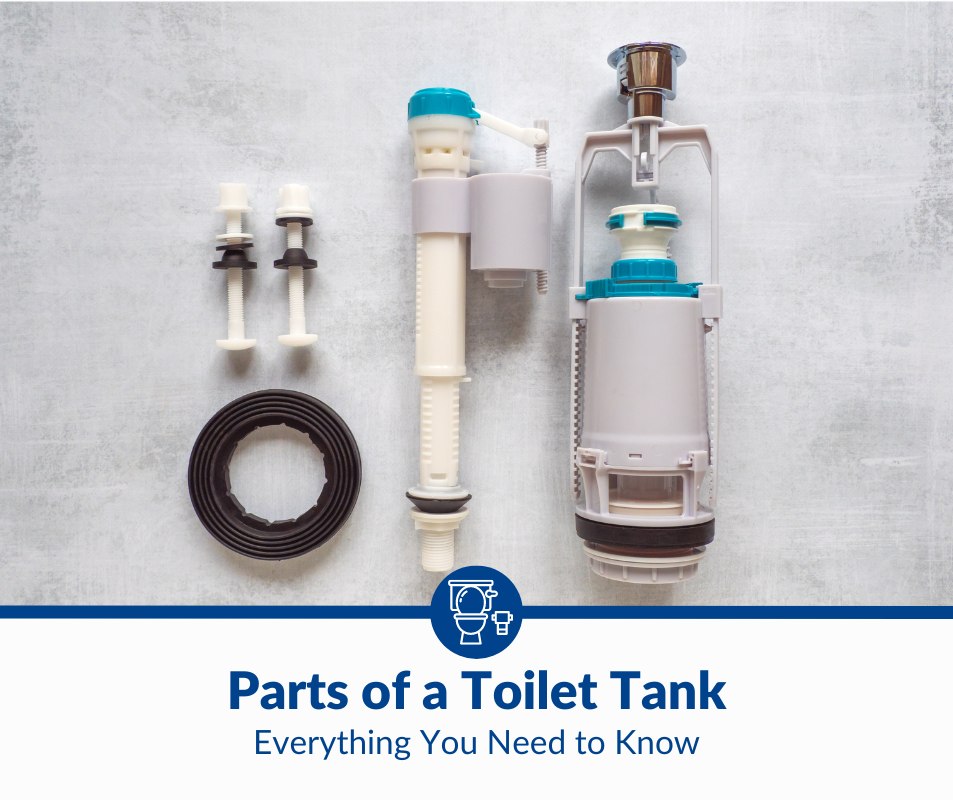
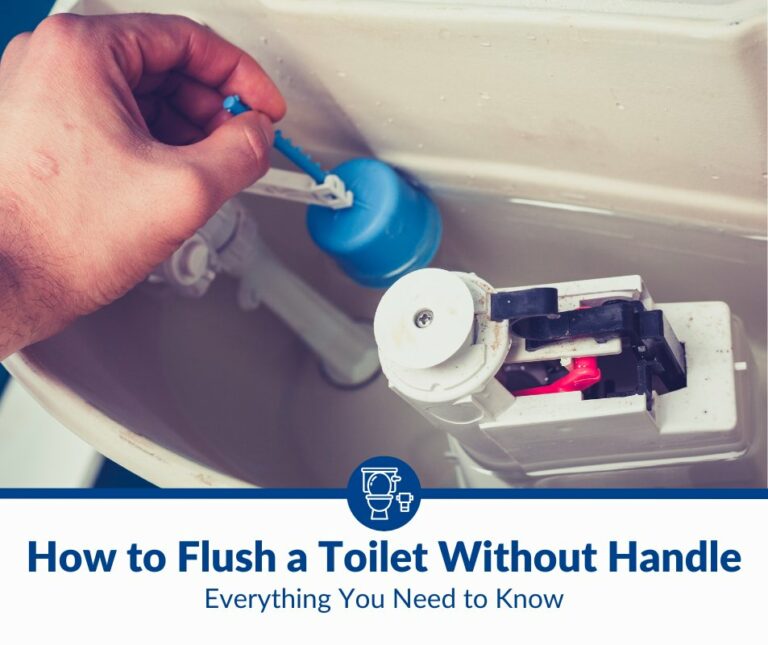
The main parts of a toilet tank include the lid, tank body, flush handle, flush lever and arm, flapper, fill valve, overflow tube, and tank bolts. This system of parts is connected to the water supply and toilet bowl, allowing a flush to be initiated when the handle is pushed.
Importance of Understanding the Parts of a Toilet Tank
Understanding the parts of a toilet tank is essential for several reasons:
- It can help you identify problems and make repairs more efficiently. When you know the function and location of each part, you can quickly diagnose issues and make the necessary repairs. This can save you money on costly service calls from a plumber and prevent minor problems from turning into bigger ones.
- Understanding the parts of a toilet tank can also help you with maintenance. By knowing how each component works, you can ensure that they are in proper working condition, helping prevent problems from occurring in the first place.
- You can make informed decisions when it comes to upgrading or replacing your toilet. When you are familiar with the parts of a toilet tank, you can find a better-functioning and more energy-efficient toilet.
- It can save you money. Perhaps the most important benefit of understanding the parts of a toilet tank is that it can help you save money in the long run. By identifying problems or potential problems quickly and making repairs yourself, you can avoid costly service fees from professional plumbers.
Benefits of Knowing How To Maintain and Troubleshoot Your Toilet
- Knowing how to maintain your toilet is crucial for extending its lifespan. Regularly cleaning the tank and bowl, replacing worn components, and checking for leaks can help you avoid costly repairs and ensures that your toilet performs optimally.
- You can fix problems with your toilet. With a basic understanding of the parts of a toilet tank, you can quickly identify issues and apply the correct solution.
- You can take preventative measures to ensure your toilet works appropriately and efficiently. By understanding the parts of a toilet tank and taking the time to perform maintenance and troubleshooting, you can keep your toilet in good condition for years to come.
The rest of this article will discuss the different parts of a toilet tank and how they work together to ensure your toilet functions properly. It will also provide troubleshooting tips for common problems and maintaining your toilet for optimal efficiency and performance.
Anatomy of a Toilet Tank
A toilet tank is an essential part of every toilet. It is responsible for holding the water used to flush waste from the toilet bowl. The tank is typically made of porcelain and sits on top of the toilet bowl. It is connected to the bowl via a series of bolts and gaskets.
The various parts of a toilet tank work together to ensure that waste is flushed correctly and the tank remains in good working condition. Here are the main parts of a toilet tank and their functions:
- Lid – The lid sits on top of the tank and is typically removable. It is usually made of porcelain and serves as a cover for the tank. The lid is used to conceal the tank’s inner workings and helps keep the water in the tank clean by preventing dust and debris from entering.
- Tank body – The tank body is the main structure of the toilet tank. It is typically made of porcelain, ceramic, or plastic and holds the water used to flush the toilet.
- Flush handle – The flush handle initiates the flushing process. It is usually located on the front of the tank and is connected to the flush lever and arm inside the tank. When the handle is pushed, it creates a vacuum that causes the flapper to open and release the water into the bowl.
- Flush lever and arm – The flush lever and arm are located inside the tank and are connected to the flush handle. The flush lever is a metal rod that extends from the tank wall to the flapper. The flush arm is a metal rod that extends from the flush lever to the flush handle.
- Flapper – The flapper is a rubber or plastic valve that sits at the bottom of the tank and covers the flush valve. It keeps water in the tank until the flush handle is pressed, creating a vacuum that lifts it, releasing water into the bowl.
- Fill valve – The fill valve is responsible for adding water to the tank. It is typically located at the base of the tank and is connected to the water supply. The fill valve is controlled by the float ball and adjusts depending on the water level in the tank.
- Overflow tube – The overflow tube is a pipe that runs from the tank to the bowl. Its purpose is to prevent the tank from overflowing if the fill valve malfunctions.
- Tank bolts – The tank bolts are used to secure the tank to the toilet bowl. They are located at the back or bottom of the tank and hold it in place. These bolts are tightened when the toilet is installed and should be checked periodically to ensure they are still tight and free of rust.
How a Toilet Tank Works
Understanding how a toilet tank works and the role of each part in the flushing process is vital for troubleshooting and performing maintenance as needed.
The primary function of the toilet tank is to hold the water used for flushing. When the flush handle is pressed, the flush lever and arm move the flapper, which opens the flush valve. This allows water to flow from the tank into the bowl, and the waste is flushed away.
When the tank empties, the flapper closes, and the fill valve opens to refill the tank with fresh water. The tank refills until it reaches the water level set by the fill valve. The overflow tube prevents the tank from overflowing by allowing excess water to flow into the bowl. Once the tank is full, the flush lever and arm drop back down, closing the flapper and ending the flush cycle. The tank is now ready for the next flush.
The Role of Each Part in the Flushing Process
- The flush lever and arm are connected to the flush handle and are used to raise and lower the flapper. These two components are important because they activate the flushing process and release the water from the tank into the toilet bowl.
- The flapper is the valve that opens and closes to allow water in and out of the tank. When the flush lever and arm are moved, the flapper is raised to open the flush valve and allow water to flow into the toilet bowl. When the flapper is lowered, it closes the flush valve and seals off the tank from the bowl.
- The fill valve controls the flow of water into the tank. The fill valve is responsible for keeping the water level in the tank at the correct height and refilling the tank after each flush. It is connected to the water supply, opens when the tank empties, and closes when it is full.
- The overflow tube is an important safety feature that prevents the tank from overflowing if the fill valve malfunctions. The overflow tube runs from the tank to the bowl, allowing any excess water to drain out of the tank and into the toilet bowl.
Understanding How the Water Level in the Tank Affects Flushing Performance
The water level in the tank is an essential factor in determining the flushing performance of the toilet. The water level in the toilet tank is determined by the height of the water in the tank compared to the height of the overflow pipe. It should be set so that it is about an inch below the top of the overflow pipe. This will ensure that the toilet flushes correctly and that the tank does not overflow.
When the water level in the toilet tank is too low, the toilet will not flush properly. If the float is set too low, it will not be able to keep the water level high enough for the toilet to flush correctly. Additionally, if the water supply to the toilet is insufficient, the water level in the tank will be too low.
On the other hand, if the float and water supply are too high, the water level will be too high. Just as low water levels can be detrimental to toilets, so can high water levels. Toilet tanks with high water levels will also not flush properly, and it can also lead to water waste.
To maintain optimal water levels in the toilet tank, it is essential to check the water level regularly. If the water level is too low, it can be adjusted by adjusting the float or increasing the water supply to the toilet. If the water level is too high, it can be adjusted by adjusting the float or decreasing the water supply to the toilet.
Maintenance and Troubleshooting Tips
Keeping your toilet running smoothly requires regular maintenance and troubleshooting. Here are some tips for keeping your toilet in good working order:
1. Cleaning and Replacing the Flapper When Necessary
The flapper is a rubber or plastic valve that sits at the bottom of the toilet tank and controls the release of water into the bowl during a flush. Over time, the flapper can become dirty or worn, which can cause the toilet to run or flush poorly.
To clean the flapper, remove it from the tank and use a brush and mild cleaner to scrub away any buildup. If the flapper is worn or damaged, it will need to be replaced. Replacing the flapper is relatively easy and can be done by following the instructions in the toilet’s user manual.
2. Checking and Adjusting the Water Level in the Tank
As mentioned earlier, the water level in the tank is an important factor in determining the flushing performance of the toilet. The float controls the water level in the tank by shutting off the water supply when the level gets too high. To adjust the water level, locate the float in the tank and manually change its position.
Troubleshooting Common Issues
- Running Toilet: A running toilet is one of the most common issues homeowners face. It is caused by a faulty flapper or a worn-out fill valve. To fix a running toilet, check the flapper and replace it if worn or damaged. If that doesn’t work, the fill valve may need to be replaced.
- Weak Flush: A weak flush can be caused by a number of factors, such as a clogged toilet or a low water level in the tank. To fix a weak flush, start by checking for clogs and remove them if necessary. If that doesn’t work, adjust the water level in the tank to ensure it is set correctly.
With regular maintenance and troubleshooting, you can ensure that your toilet runs properly and efficiently. Regularly check the water level in the tank, as this can improve the performance of your toilet and drastically reduce water waste.
Upgrading and Replacing Your Toilet Tank
Even if you perform regular maintenance on your toilet tank, there are times when you might need to upgrade or replace it. Since toilet tanks can last for many years with the proper care and maintenance, you won’t have to worry about replacing your toilet tank that often. Here are some times when you might want to think about replacing your toilet tank:
When To Consider Replacing Your Toilet Tank
- Leaks: A leaky toilet tank can be a sign that the tank needs to be replaced. Suppose you notice water on the floor around the toilet or the tank is constantly refilling. In that case, it’s a good indication that the tank is leaking and needs to be replaced.
- Cracks: If you notice cracks in the tank, it’s important to replace it as soon as possible as it could lead to leaks and water damage.
- Rust: If your toilet tank shows signs of rust, it may not be able to hold water properly and should be replaced.
- Age: If your toilet is more than 20 years old, it’s a good idea to consider replacing the tank as it may be less efficient and may not meet current standards.
Options for Upgrading to a More Efficient or Stylish Toilet Tank
There are a variety of upgrades available for toilet tanks that can help make them more efficient and stylish. These include:
- Dual flush toilet tank. Dual flush toilet tanks have two buttons, one for a full flush and one for a half flush. This allows you to choose the appropriate flush for your needs, saving water and money on your water bill.
- Low-flow toilet tank. Low-flow toilet tanks reduce the amount of water used for each flush, saving money and reducing your carbon footprint. There are newer models available that use even less water.
- Pressure-assisted toilet tank. Pressure-assisted toilet tanks use compressed air to help the water flow, creating a powerful flush that can clear clogs. This type of toilet is highly efficient and can save you money on your water bill over time.
- Double cyclone flush toilet tank. Double cyclone flush toilet tanks use two jets of water to create a powerful, swirling flush that is highly efficient and can quickly break down waste. These toilets are more expensive but are also very efficient.
- Gravity flush toilet tank. Gravity flush toilet tanks use the force of gravity to create a powerful flush that is highly efficient and can quickly break down waste. These toilets are more affordable and don’t require additional energy or electricity.
- Tankless toilet tank. Tankless toilets don’t have a tank but instead draw water directly from the main water supply for each flush. Over time, this can save a lot of space, energy, and money.
- Stylish options. Suppose you’re looking to upgrade the look of your bathroom. In that case, there are a variety of elegant toilet tanks available, from sleek modern designs to vintage-inspired styles. Different colors and styles can give your bathroom a unique look.
Conclusion
Having a thorough understanding of the different parts of a toilet tank is essential for keeping your toilet running in top condition. The various components are designed to work together to provide efficient and effective flushing performance, so it’s vital to ensure they work correctly.
Regularly checking the water level, inspecting for leaks, and replacing any broken or worn parts can help ensure that your toilet is running optimally. Consider upgrading to a more efficient or stylish model if you’re looking to improve the performance or aesthetics of your bathroom.

