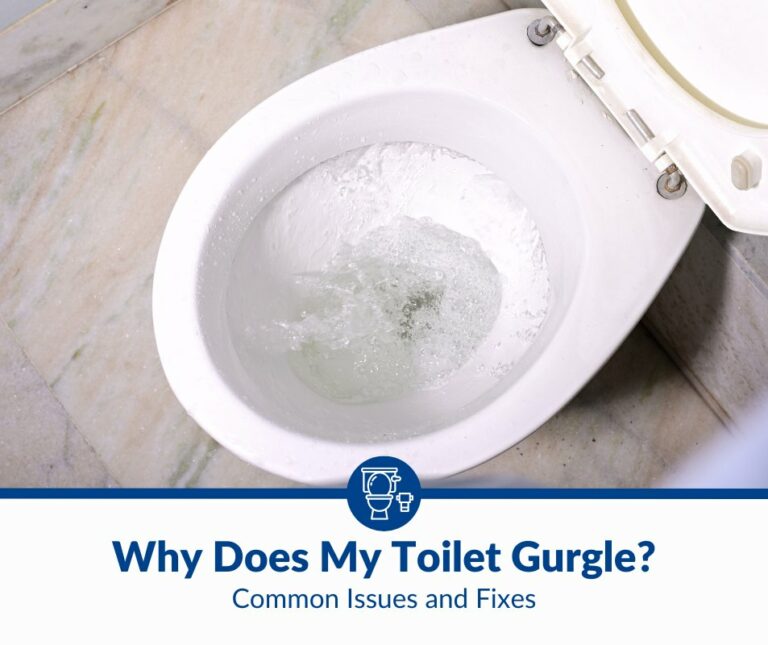
Slow Draining Toilet? Common Issues and Fixes
A slow-draining toilet is a common household problem caused by various factors ranging from clogged pipes to worn-out parts. The problem can be frustrating for homeowners, as it can make it difficult to use the toilet and lead to unpleasant odors in the bathroom.
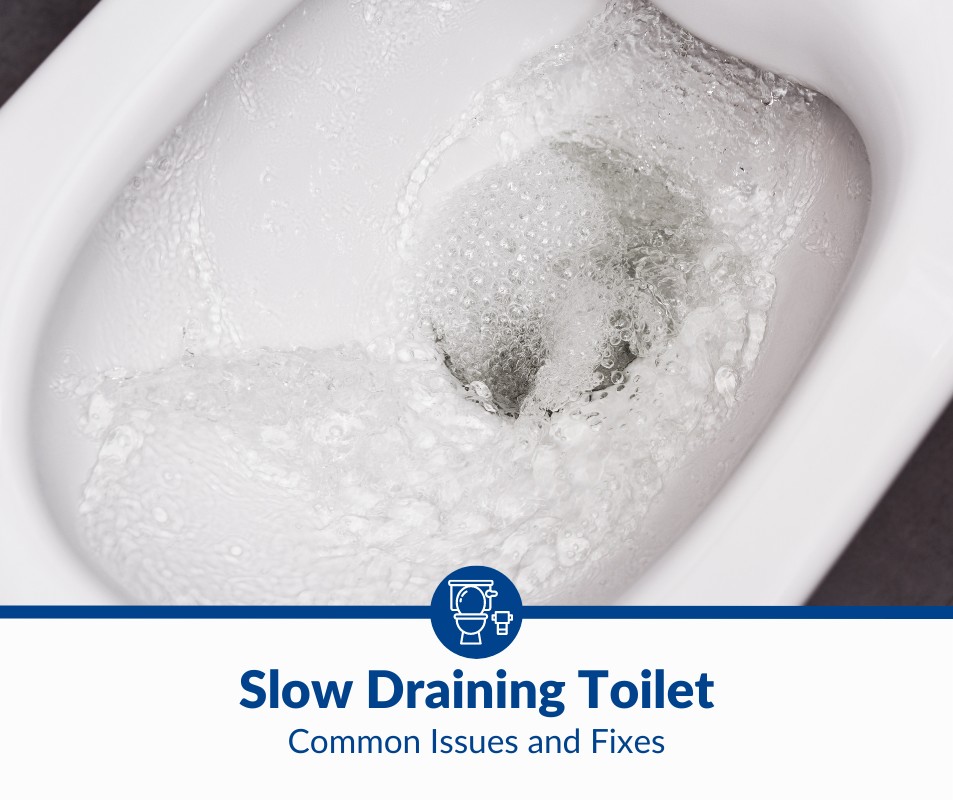
Common causes of a slow draining toilet include a clogged toilet trap or drain pipe, leaking seals, and poor flushing performance. You can fix these by using a plunger or an auger to clear the toilet. You can also replace damaged seals and adjust the flushing mechanism to fix poor draining.
Addressing the issue of a slow-draining toilet promptly can help prevent further plumbing issues from occurring. Left untreated, a slow-draining toilet can cause water to back up in the pipes, leading to overflowing toilets or leaks. A slow-draining toilet can also put extra strain on the septic system, potentially leading to costly repairs, so read on to learn how to fix the issue.
1. Clogged Toilet Trap
The toilet trap is the curved portion of the drain that is located directly under the bowl. It can become clogged with debris, such as hair, toilet paper, or even small toys, which can restrict water flow and cause the toilet to drain slowly.
How to Fix
Use a plunger to clear the toilet trap. A plunger effectively clears clogs caused by a buildup of debris in the toilet trap. The plunger creates suction that can dislodge the clog and allow it to be flushed away.
Materials Needed
- Toilet plunger
- Gloves (Optional)
Step-by-Step Instructions for Using a Plunger to Clear the Toilet Trap
- Begin by putting on rubber gloves. While wearing gloves is not necessary, it will provide a barrier between your hands and the toilet water, protecting your hands from any bacteria or germs that may be present in the toilet bowl.
- Fill the toilet bowl with water. To work effectively, the plunger must be fully submerged to ensure the bowl is sufficiently filled with water.
- Place the plunger into the toilet bowl. Ensure that the rubber end of the plunger is completely submerged in the water. The plunger should be firmly seated on the bottom of the bowl, as this will create a tight seal and allow for maximum suction.
- Firmly grip the plunger handle and begin to pump up and down rapidly. This action will create suction that can dislodge the clog and allow it to be flushed away.
- Continue pumping the plunger for several minutes. This continuous pumping will allow the suction to penetrate through any debris clogging the toilet trap. You should feel the plunger pulling and pushing against blockages as you work.
- After several pushes, pull the plunger out quickly. This sudden release of pressure can help to dislodge the clog and allow it to be flushed away.
- Flush the toilet. Once you have removed the clog, flush the toilet to ensure all the debris has been flushed away. Check to ensure the toilet drains correctly and the clog has been cleared.
- Repeat the process. You may need to repeat this process a few times before the toilet begins to drain correctly. If it is still slow-draining after a few attempts, then another issue is likely causing the slow draining, and you need to try a different method.
Tips for Choosing the Right Type of Plunger and Using It Effectively
- Choose a plunger specially designed for toilets. This type of plunger has a flange designed to fit the shape of the toilet bowl, allowing for more effective suction.
- Ensure the plunger flange is firmly seated on the bottom of the bowl. This secure seal will allow maximum suction and make it easier to clear any clogs.
- Apply pressure evenly. Ensure to push and pull the plunger handle in a steady, even motion to create suction that can dislodge the clog effectively.
- Be patient. Clearing a clogged toilet can take several minutes, so give it enough time to work before giving up.
2. Clogged Drain Pipe
The drain pipe carries wastewater from the toilet to the sewer or septic system and can become clogged with debris. This debris buildup can happen over time due to a sediment buildup or a blockage further down the line.
How To Fix
Use a toilet auger to clear the drain pipe. A toilet auger is a specialized tool with a small, curved auger head on one end that is designed to reach deep into the drainpipe and clear any clogs that may be present. The auger is inserted into the toilet bowl and twisted to push past blockages.
Materials Needed
- Toilet auger
- Gloves (Optional)
Step-by-Step Instructions for Using a Toilet Auger to Clear the Drain Pipe
- Put on rubber gloves. Before handling the auger, it’s important to put on a pair of gloves to protect your hands from any germs or bacteria that may be present in the toilet bowl.
- Locate the blockage. The blockage is most likely located in the bend of the toilet drain pipe, known as the trap. The trap is the curved section of the drain pipe located just below the toilet bowl. This section is where the auger will need to be inserted.
- Insert the auger. Insert the auger into the toilet bowl and feed it through the trap until you feel resistance. Be careful not to push too hard, as this can damage the pipe.
- Crank the handle. Slowly turn the auger handle clockwise while applying gentle pressure to push the auger through the blockage. Keep cranking the handle until the auger head breaks through the blockage.
- Remove the auger. Once you have broken up or removed the blockage, carefully pull the auger out of the toilet bowl. Remove any debris or blockage material clinging to the auger head.
- Flush the toilet. Flush the toilet several times to ensure that the blockage has been completely cleared and that water flows freely through the drain pipe. If the water is not draining correctly, you may need to repeat the augering process.
- Clean up. Once the blockage has been cleared, discard the gloves and wash your hands thoroughly. Clean the auger and store it in a dry, safe place until it is needed again.
Tips for Choosing the Right Type of Toilet Auger and Using It Safely
When choosing a toilet auger, there are a few important factors to consider to ensure that you select the right type for your needs.
- Type of auger. There are two main types of toilet augers: manual and power. Manual augers are operated by turning a handle, while an electric motor operates power augers. Manual augers are generally less expensive and can be used for simple blockages, while power augers are more powerful and can be used for more difficult blockages.
- Length of the cable: The length of the cable on a toilet auger is an important factor to consider. A longer cable can reach deeper into the drain pipe, making it more effective for clearing blockages.
- Quality of the cable. Make sure to choose an auger with a durable, rust-resistant cable. A high-quality cable will withstand the wear and tear of breaking up blockages and will last longer.
- Handle. Some augers have a T-handle, which makes it easier to apply pressure and turn the auger. Other augers have a simple handle, which can be more difficult to use, especially for people with limited hand strength.
Safety Tips To Keep In Mind
- Be gentle when pushing the auger through the drain pipe to avoid damaging the toilet.
- Keep the auger away from children and pets to avoid accidents.
- Always store the auger in a dry place to prevent rust and maintain its durability.
3. Identify And Replace Leaking or Damaged Seals
Damage to the seals that connect the toilet to the drain pipe is another common cause of slow-draining toilets. The seals around the base of the toilet can become damaged over time, causing water to leak out and into the drain.
Also, water will not be able to flow freely through the pipe and may cause a blockage. This blockage can slow down the draining process and lead to a slow-draining toilet.
How To Fix
To check and replace damaged seals, you will need the following:
- Sealant
- Adjustable wrench
- Flathead screwdriver
- Putty knife
Step-by-Step Instructions to Check and Replace Seals on Your Toilet
- Shut the water off. You don’t want water flowing into the toilet when fixing a seal because it will make the process more difficult and messy. Turn the valve clockwise to switch the water supply off. Then use a wrench to disconnect the water supply line to the bottom of the tank by unscrewing the nut.
- Remove the lid. Take the lid off the tank and set it aside in a safe place where you’re unlikely to step on it while working.
- Clear all the water. Before you get to work, flush the toilet and remove excess water from the tank and the toilet bowl using a sponge.
- Remove caps from the bolts. At the bottom of the tank, you’ll find two bolts covered by caps. Take the caps off using a flathead screwdriver and set them aside safely.
- Break the wax seal. Gently jostle the toilet bowl to break the seal holding it to the floor. Lift the bowl up and off the floor and set it aside.
- Scrape up the excess wax. Using a putty knife, scrape off the old seal wax on the floor and the drain pipe, and remove any grime.
- Put down a new seal. Use your sealant of choice to apply a fresh wax seal around the drain pipe. Make sure it is applied evenly over the drain.
- Replace the toiler bowl and bolts. Place the toilet bowl gently over the new seal and attach the bolt connecting the bowl to the tank.
- Reconnect and switch on the water supply. Screw the nut back on to reconnect the water supply to the tank. Then turn the valve counterclockwise to open the water back up.
- Check for leaks. Look around the toilet for any leaks, then flush it to ensure no blockage or water leakage from the new seal or any other part of the toilet.
Tips for Identifying the Type of Seals and Choosing the Right Replacement
- Choose the right type of seal for your toilet. Different types of toilets require different seals, so check the manufacturer’s instructions to determine which type is best for your toilet.
- Look for seals made from durable materials such as rubber or silicone.
- Check the size and shape of the seal before purchasing to ensure that it fits your toilet properly.
- Ensure the replacement seals are compatible with your toilet and drain pipe.
Poor Flushing Performance
A slow-draining toilet can be caused by an issue with the toilet’s flushing mechanism. If the toilet flush mechanism is not working properly, it may not be able to clear waste and debris from the bowl effectively. Water can get stuck in the bowl and cause a blockage, leading to a slow-draining toilet and unsanitary conditions in the bathroom.
How To Fix
To adjust the flushing mechanism, you will need an adjustable wrench.
- Turn off the water supply. Before you start working on the toilet, turn off the water supply by turning the valve clockwise. Turning off the water will prevent it from flowing into the toilet while working on it.
- Remove the toilet lid. Lift the toilet lid off the tank and set it aside to access the flushing mechanism.
- Locate the flushing mechanism. The flushing mechanism is typically located in the toilet tank. A plastic or metal lever or button is usually connected to the flush valve.
- Adjust the float. The float is the plastic or metal ball that sits on top of the water in the tank. It controls the water level in the tank. Adjust the float so it sits below the overflow pipe and does not allow water to overflow into the bowl.
- Adjust the chain. The chain is connected to the lever on the flushing mechanism. It controls how much water is released into the bowl. If the chain is too long, it can cause a slow-draining issue. Adjust the chain length so that it is long enough to release enough water to flush the toilet.
- Check the flush valve. The flush valve is located at the bottom of the tank and releases water into the bowl when you flush. Make sure that it is properly adjusted so that it opens and closes as it should. If it is loosely adjusted, tighten it with an adjustable wrench.
- Turn on the water supply. Once you have adjusted the flushing mechanism and checked for leaks, turn the water supply back on by turning the valve counterclockwise and test the toilet. Water should flow freely through the drain pipe, and the toilet should flush correctly.
Tips for Identifying the Cause of Poor Flushing Performance and Making the Necessary Adjustments
- The chain should be long enough to release water into the bowl, so adjust its length if necessary.
- The water level in the toilet tank should be set slightly below the top of the overflow pipe to prevent water from spilling into the overflow tube and out of the tank. If the water level is too low, it may not be enough to flush the toilet properly.
- Check the flush valve to ensure it is properly adjusted and not leaking.
- If your toilet has a dual-flush system, ensure that the full and partial flush mechanisms are correctly adjusted.
Preventing Future Slow Drains
Regular maintenance is key to preventing clogs and other issues with your toilet. Here are a few tips for maintaining your toilet to avoid clogs and other issues:
- Only flush toilet paper and human waste. Items such as feminine hygiene products, baby wipes, paper towels, and cotton swabs can cause clogs and damage your toilet.
- Regularly check the flushing mechanism. Maintenance and checks ensure that the flush works correctly and that the water level is correct.
- Check the seals around the toilet’s base. Ensure they are in good condition and not leaking.
- Regularly inspect the pipes that connect to your toilet. The inspection will help you catch potential issues before they become more significant problems.
- Regularly clean your toilet with a toilet cleaner to remove buildup. Removing grime from the sides of the bowl helps prevent stains and blockage.
- Consider using preventative measures. A toilet bowl cleaner and hair catcher will help to keep your toilet fresh and free of clogs.
Conclusion
A slow-draining toilet can be caused by a clogged toilet trap, a clogged drain pipe, or leaking or damaged seals. To fix these issues, you can use a plunger or an auger to clear clogs. You can also check and replace damaged seals or adjust the flushing mechanism to ensure it releases enough water.
Regular maintenance is key to preventing future slow drainage and other plumbing issues. Inspect your flushing mechanism and seals, clean the toilet regularly with a cleaner, and consider using preventative measures to keep your toilet fresh and free of clogs.