Low Water in Toilet Bowl After Flushing? Causes and Fixes
Flushing repeatedly, and still, your toilet bowl is not filling with water after each flush? Luckily, this is a common issue with modern plumbing, and you might not need to call your plumber just yet.
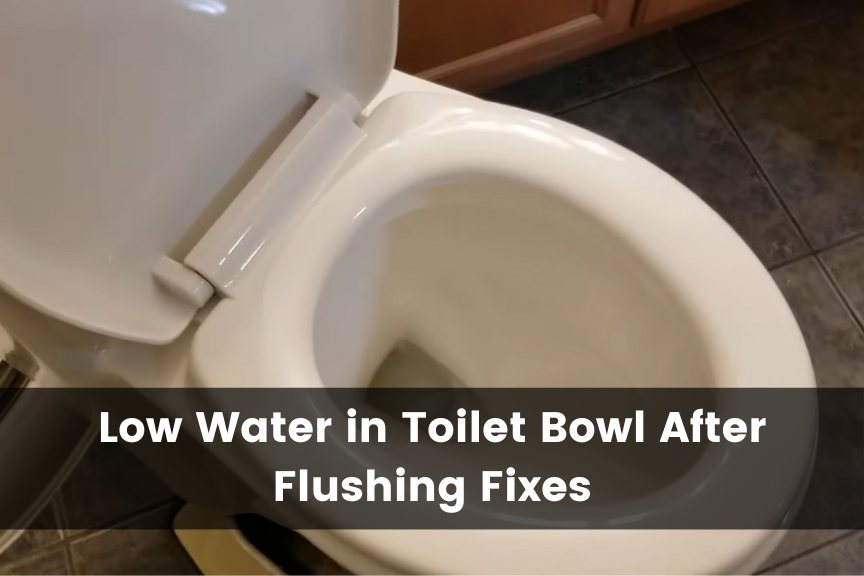
Low water in the toilet bowl after flushing can be due to an issue with the filler tube or flapper. This is a common issue and relatively easy to fix. Other causes include pipe problems or a clogged toilet, sewer line vent, or inlet.
In this article, I’ll discuss the above-mentioned causes of low water in your toilet bowl after flushing. Additionally, I’ll give you step-by-step instructions on how to fix each of these issues and even give you some insight on which ones are worth calling your plumber for.
1. Filler Tube Is Not in the Correct Position
Your toilet’s filler tube being in the incorrect position is more common than you think. This is the most common reason for the toilet bowl not filling with water after flushing. It can cause low toilet water levels after you flush the toilet.
If your toilet’s flapper valve is not stuck or damaged, then you may be experiencing a problem with the filler tube.
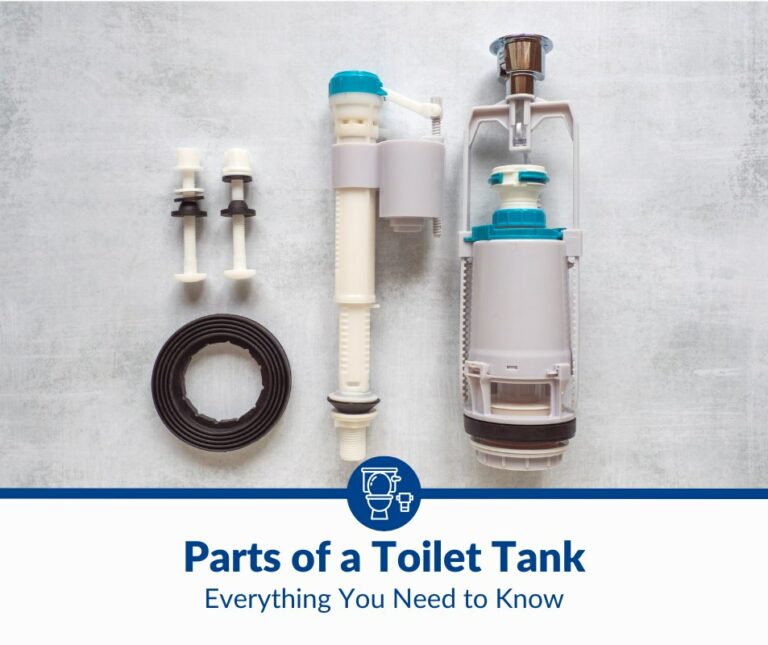
The filler tube connects your water supply to the bottom of your toilet tank, and it should be in a vertical position so that it doesn’t interfere with the proper drainage of your toilet bowl.
If it’s not properly positioned, there could be too much pressure on one side of your tank’s valve. Ideally, the pressure should be evenly distributed throughout all sides.
How To Fix
You don’t need any tools besides a pair of pliers to reposition your filler tube. Here’s how to fix it:
- Open up the top part of the toilet and look inside. If your filler tube has been disconnected or looks awry, that’s likely the problem.
- Locate the shut-off valve and rotate it clockwise to close off the water to the toilet.
- Adjust the filler valve to the correct position.
- Tighten the filler valve so it doesn’t move again.
- Reconnect the water supply by rotating the shut-off valve.
- Check if the water level is back to normal after flushing the toilet.
If your toilet doesn’t fill like it’s supposed to, you may need to replace the tube altogether.
2. Filler Tube Is Damaged or Broken
If the water supply line is secure and there’s still little or no water in the toilet bowl after flushing, the filler tube may be broken or damaged. This situation can be worse than a dislodged filler tube because it always requires a replacement.
A filler tube can become broken or cracked over time, which will cause water to leak out of the tank instead of filling it.
You can determine if this is the cause by doing the following:
- Remove your toilet tank’s lid and inspect inside for damage or problems. If there is any brown or black discoloration on any part of the tank, that means there has been some corrosion in that area, and it needs to be replaced.
- Check if there are cracks along the walls near where they meet up with other parts like pipes or valves. This could mean that those areas have weakened over time due to usage and age, especially if you’ve had your current home for several years.
How To Fix
First, you’ll need to buy a new filler tube. You can usually find these in your local hardware store or online. There are not too many options out there for filler tubes, so you won’t have to worry about getting the wrong kind.
The Fluidmaster 218 (available on Amazon.com) works for 100, 200, 200A, and 400A models and most other valves. It’s also easy to install. If you have tools at home, you might not even have to call a plumber.
You’ll need pliers, scissors, and a new filler tube. After securing the tools, you can follow the instructions below:
- Turn off your water supply using the fixture shut-off valve found on the water supply pipe. Usually, you’ll turn this clockwise.
- Open the top of your toilet and remove the broken or damaged filler tube. Dispose of the broken tube.
- Prepare your new toilet fill valve per the directions on the back of the packet. Typically, you’ll slide a washer from the bottom to the top of the tailpiece. Then, you’ll adjust the height. At this point, you may need to cut it with scissors to make it fit.
- Insert the valve, making sure you put the bottom piece through the hole.
- Connect the tube with the water tube.
- Tighten the nut so that the two are connected.
- Turn the water back on.
- Check if water starts filling up as normal.
If this doesn’t fix your issue, your toilet bowl might have other problems listed below.
3. Flapper Part Is Damaged
The problem with flapper damage is that it can cause the toilet to run constantly and will almost always cause the fill valve to fail. If you have a “running toilet,” check for a flapper or fill valve problem.
A running toilet can cause more problems than just your toilet bowl water level remaining low. Constantly running water can quickly increase your water consumption, especially if you don’t resolve the problem immediately. If you notice an unusual increase in your bill, the toilet flapper should be one of the things you should check first.
The flapper or flush valve (also known as the tilt valve or ball valve) ensures that the water inlet is closed after flushing. Still, if it’s stuck open, the water will continue to fill up.
In this case, the flush valve may be broken or malfunctioning. Toilet flapper valves can be either a “ball” type or a “tilt” type. In general, these are both made of plastic and are located on top of the toilet tank.
The ball-type flapper has a rubber seal that forms an airtight seal when closed, preventing any backflow from entering the bowl through the trapway when not in use. When you press down on this flapper, it opens up so that water can drain from your tank into your toilet bowl (and then back into your tank).
The ball-type or flush valve is often connected by chains or springs to either side of itself to ensure proper operation throughout its lifespan (which could be anywhere between 5-15 years).
How To Fix
Notice that your toilet isn’t filling up with water after being flushed. There may be something wrong with your fill valve – which is responsible for providing enough pressure for both filling up AND emptying out within seconds flat!
To fix your toilet flapper, you may need to buy a new one altogether. The GOLDEN DEER Toilet Flapper Replacement (available on Amazon.com) is suitable for most toilets. It even comes with two sets, so you’ll be prepared next time there’s any damage (remember, this damage is inevitable over time!). You can find flapper valves at hardware stores and online.
To replace:
- Shut off the water going to your toilet using the fixture shut-off valve found on the water supply pipe. The fill valve needs to be shut off so water isn’t spraying out once you begin the replacement process. Usually, you’ll turn this clockwise.
- Flush your toilet. This will drain all the water from the bowl and the top of your toilet to ensure you’re not getting your hands dirty while replacing the flapper part.
- Locate the handle arm and then remove the chain on the flapper. The handle arm connects the toilet handle to your toilet so you can flush it.
- Remove the valve and your old flapper. The flapper is usually red or black and looks a lot like the plug you’d put in your sink to fill it.
- Reattach your fill valve.
- Add your new flapper part.
- Turn all the water configurations back on.
- Flush the toilet to check if the water level is back to normal.
4. Toilet Is Clogged
The most common cause of toilet blockages is the build-up of solid waste collected in the flange pipe. This is usually caused by poor maintenance practices, such as not cleaning the bowl every time it flushes or using too much toilet paper.
If your toilet is clogged and you can’t unclog it, you may need to call a plumber for help.
How To Fix
You must first prepare a toilet plunger. Ensure you have a bucket underneath the toilet to catch any water that comes out when you plunge.
- Make sure your plunger is in good shape. The rubber should be flexible, and the handle should move freely. You’ll need to get a new one if it’s cracked, old, or stiff.
- Position the plunger over the drain opening. Press down with as much force as possible until you’ve created a seal around the entire opening of your toilet bowl.
- Hold down firmly for at least two minutes before removing the plunger from the drain opening and checking to see if there’s any improvement in water flow.
- Repeat steps 1 and 2 until you’ve gotten some results. Remember that if your toilet has been clogged for some time already, this process may take several attempts before it works!
After your toilet has been properly unclogged, give it a flush and see if it flows as it should.
5. Toilet Bowl Inlets Are Clogged
A toilet bowl inlet is the end of your drain pipe where it goes into your toilet. It’s usually located under the tank, but sometimes it can be found behind or under the bowl itself.
Inlet holes are located in the toilet bowl’s walls, and are responsible for ensuring that water drains out effectively. The pipe inlet takes water from your toilet to your home’s sewer line. If you notice that your toilet is running, or if you’re getting a lot of backup in your pipes and drains, it could be that your toilet bowl inlet has been clogged.
When they’re clogged, that can mean a lot of things. One reason is that your toilet is leaking (which can be dangerous). Alternatively, you may just have some gunk in there that needs to be cleaned out.
From above, you can see if your toilet inlet is clogged. If it’s clogged, you’ll see a build-up of debris around its edge.
How To Fix
Cleaning the toilet bowl is the best way to keep your inlets from clogging. If you’re still having trouble after moving the toilet, pour half a cup (118 ml) of vinegar into the toilet bowl and flush it with hot water. The vinegar should dissolve whatever is causing the problem and allow you to clear out any remaining blockage.
6. Pipe Problems
There are a few pipes associated with your toilet. All toilets have a waste pipe, but this pipe connects to different pipes depending on how your system is set up. Typically, there’ll be a sanitary tee (with a few other pipes connected) and pipes that go from your other water fixtures, such as your sinks and tubs.
If you have a clogged pipe, it can cause your toilet to overflow or not flush at all. This can be very dangerous if it happens when you’re not home. Clogging can also cause the pipes to siphon out too much water, resulting in low water in the toilet bowl after flushing.
If these pipes get clogged up with junk, water can be hard to get in or out of them, which is a problem as you won’t have sufficient water for flushing. And if there’s no water for flushing your toilet, then you’ll have to find some other way of getting rid of stuff from inside of it—like picking it up with a plunger or something like that!
Additionally, if the water doesn’t drain out of your pipes, it could cause mold and mildew to grow inside the walls of your home. The mold will start to smell bad after a while and can make you sick if you breathe in its spores. It can also damage some types of drywall and paint!
How To Fix
If you suspect your pipes are clogged, you can use products that can break down the stuck objects, such as toilet paper.
I recommend the Green Gobbler Ultimate Main Drain Opener (available on Amazon.com). It can dissolve hair and grease, improving the inflow and outflow of water through pipes. It’s also odorless and safe for any pipe material.
Unfortunately, fixing damaged pipes isn’t as easy as replacing a filler valve or an overflow tube. You’ll need to contact a plumber to see what’s up with your plumbing and go from there, which can be costly.
They may just have to fix a few connections or drain a few pipes you can’t reach. Regardless, it’s best to leave this to the professionals if it comes to it!
7. Sewer Line Vent Is Clogged
If you’re experiencing low water in the toilet after flushing, you could have a clogged sewer line vent. The vent pipe is designed to release air that builds up in your drainpipes when they fill with water. If it is clogged and backs up into your sink or tub drains, it can cause them to fill up with waste material that eventually overflows onto the floor or seeps out under the toilet seat.
A clogged sewer line vent can also cause backups in other locations throughout your house, such as bathtubs, showers, and sinks. If you live in an older home with galvanized pipes (the shiny silver kind), this is especially likely because these types of pipes tend to corrode over time which causes blockages inside them.
If you’re getting an odor from your sink during a shower, it could be because the sewer line vent is clogged. The vent is located on your home’s roof (where the sewer line connects to your house), and when it’s clogged, it won’t allow air in and out. This can cause a stench to come from your sink when you’re taking a shower.
How To Fix
Homes with private sewer lines typically have a vent somewhere on the roof to allow gases to escape. At the same time, the waste passes through the pipes. If the vent is clogged or damaged, sewage could go back into your home, so it’s important to check the condition of your sewer line vent regularly.
To put it simply, you’ll have to :
- Shut your water off.
- Find your vent pipe.
- Remove it and check inside for debris.
- Remove any debris or build-up.
The above steps should help to resolve the issue. However, if the problem still persists, you will need to call a plumber to help.
8. Toilet Bowl Is Cracked
Other causes include cracked toilets. This can cause water to leak out and pool around the base of your toilet bowl, which will then stagnate, leading to an unpleasant odor. If this occurs, consult a professional plumber immediately because other issues may be present within your plumbing system that require attention before they worsen (and cost even more money).
How To Fix
A cracked toilet bowl is another one of those things best left to plumbers. However, if you think you can handle it, you can fix this issue by completely replacing your toilet. To make it simple, you’d:
- Shut off the water supply to your toilet.
- Unscrew the nuts that secure the tank to the bowl.
- Lift the tank off of the bowl.
- Take out the old toilet and put in a new one.
- Put the tank back onto the bowl.
- Tighten up the nuts that hold it onto the bowl.
- Tighten up other nuts, too, while you’re there.
- Turn on the water.
Again, this is a minimal description of what to do to replace a toilet!
9. Water Is Turned Off
As a final possibility, you’ll want to ensure your water is actually working before calling a plumber.
Go around the house and check sinks, tubs, etcetera. If none turn on, your water may be turned off.
This would be the easiest fix–simply call your water company and see if the water has been shut off. This could be a matter of paying your bill or possibly a neighborhood-wide shut-off due to construction (this is called a planned water outage).
Summary
If your toilet bowl is low on water after flushing, don’t stress. It’s actually one of the most common toilet issues out there, and plumbers will even suggest a few of your own fixes first. However, if your DIY fixes don’t work, it may mean something more troublesome is at hand. Make sure to contact a plumber if the issue persists and you notice more symptoms!

