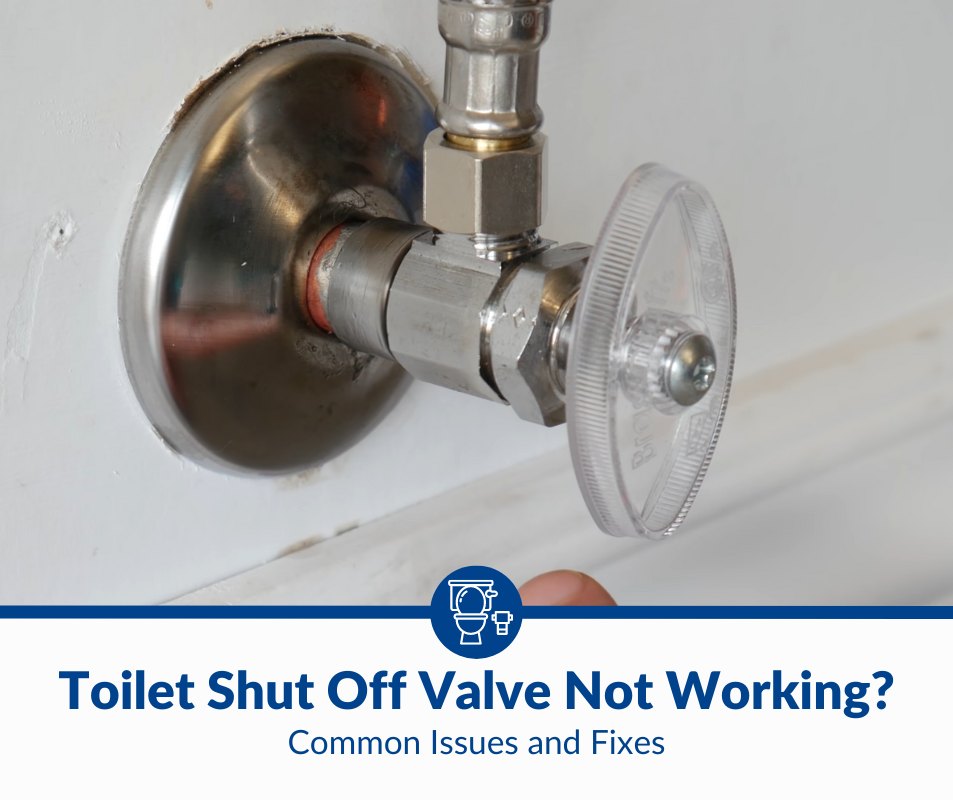
Toilet Shut Off Valve Not Working? Common Issues and Fixes
A toilet shut-off valve is an important component of your home’s plumbing system, as it allows you to turn off the water supply to the toilet in case of a leak or other issue. If you’re having trouble with your toilet shut-off valve not working correctly, a few common issues could be causing the problem.
The most common causes of a malfunctioning shut-off valve include improper installation, corrosion, dirt or debris buildup, malfunctioning handle, worn-out valve, or loose connections. Damage from freezing temperatures is also possible, especially if you live in an area with cold winters.
In this article, I’ll discuss the common issues associated with a toilet shut-off valve not working and explain how to fix each of these issues. Read on for more information!
1. Improper Installation
Improper installation is one of the common causes of a toilet shut-off valve not functioning correctly. The shut-off valve is a crucial component of your home’s plumbing system, as it allows you to turn off the water supply to the toilet in case of a leak or other issue. If the valve is not installed correctly, it can cause several problems, including leaks and difficulty turning it on and off.
There are a few ways in which improper installation can lead to issues with a toilet shut-off valve. For example, if the valve is not aligned correctly with the pipes, it may not seat properly and can cause leaks. Additionally, if the valve is not connected securely to the plumbing system, it may be challenging to turn it off or on.
To ensure that your toilet shut-off valve is installed correctly, it’s important to hire a professional plumber. A skilled plumber will have the expertise and tools to properly install the valve, ensuring that it functions correctly and does not cause any issues.
How To Fix
If you suspect your toilet shut-off valve was not installed correctly, it’s important to address the issue as soon as possible. Leaks can cause significant damage to your home and increase your water bills, so it’s important to fix the problem before it worsens.
Here’s how you can fix the improper installation of a toilet shut-off valve:
- Turn off the water supply: Before fixing the valve, it’s important to turn off the water supply to the toilet. Locate the main water shut-off valve for your home and turn it off. This will prevent water from flowing to the bathroom while you work on the valve.
- Determine the cause of the problem: Once the water supply is shut off, you’ll need to determine the cause of the improper installation. This may involve inspecting the valve and the connections between the valve and the pipes.
- Tighten loose connections: If the connections between the valve and the pipes are loose, it can cause the valve to malfunction. Tighten any loose connections using a pipe wrench or adjustable pliers.
- Realign the valve: If the valve is not aligned correctly with the pipes, it may not seal properly and cause water to leak. Carefully realign the valve so that it sits perfectly against the pipes.
- Turn the water supply back on: Once you’ve addressed the issue with the valve, you can turn the water supply back on. Open the main water shut-off valve and check the valve and connections for any signs of leaks.
2. Corrosion
Another common cause of a malfunctioning shut-off valve is corrosion. Over time, corrosion can build up on the valve’s internal components, causing several problems, including difficulty turning the valve on and off, sticking, or leaks. It is caused by a chemical reaction between the valve material and the water or other substances it comes into contact with.
The valve may become corroded over time due to exposure to water with high levels of chlorine or minerals or due to old age. Once corrosion has set in, it spreads quickly and can cause significant damage to the valve.
How To Fix
If you suspect that your toilet shut-off valve is suffering from corrosion, there are a few steps you can take to fix the problem:
- Turn off the water supply: Before attempting to fix the valve, it’s important to turn off the water supply to the toilet. Locate the main water shut-off valve for your home and turn it off. This will prevent water from flowing to the bathroom while you work on the valve.
- Remove the valve: To repair the valve, you’ll need to remove it from the pipes. Use a pipe wrench or adjustable pliers to loosen the connections between the valve and the pipes.
- Clean the valve: Once it is removed, clean it thoroughly to remove any corrosion or other debris causing the issue. You can use a valve cleaning tool or flush the valve with water to clean it.
- Replace the valve: If the corrosion is severe, repair may not be possible. In this case, you’ll need to replace the valve with a new one.
- Turn the water supply back on: Once you’ve repaired or replaced the valve, you can turn the water supply back on. Open the main water shut-off valve and check the valve and connections for any signs of leaks.
3. Dirt or Debris Buildup
Dirt or debris buildup on the valve’s internal components can cause several problems, including difficulty turning the valve on and off and leaks.
There are a few ways in which dirt or debris can build up in the valve and cause issues:
- Sediment in the water supply can accumulate in the valve, preventing it from functioning correctly.
- Debris, such as hair or small objects, may become stuck in the valve, causing it to malfunction.
- The buildup of minerals such as calcium and magnesium on the valve’s internal components can cause it to stick or not seal properly.
How To Fix
If you suspect that your toilet shut-off valve is suffering from dirt or debris buildup, there are a few steps you can take to fix the problem:
- Turn off the water supply: Before attempting to fix the valve, it’s important to turn off the water supply to the toilet. Locate the main water shut-off valve for your home and turn it off. This will prevent water from flowing while you work on the valve.
- Remove the valve: To clean it, you’ll need to remove it from the pipes. Use a pipe wrench or adjustable pliers to loosen the connections between the valve and the pipes.
- Clean the valve: Once it is removed, clean it thoroughly to remove any dirt or debris causing the issue. You can use a valve cleaning tool or flush the valve with water to clean it.
- Reinstall the valve: Once it is clean, you can reinstall it by tightening the connections between the valve and the pipes.
- Turn the water supply back on: Once you’ve cleaned and reinstalled the valve, you can turn the water supply back on. Open the main water shut-off valve and check the valve and connections for any signs of leaks.
4. Malfunctioning Handle
The handle on the valve may become loose, stuck, or even break over time due to wear and tear.
A malfunctioning handle can cause problems with a toilet shut-off valve if the handle is broken, turning the valve on and off may be difficult or impossible. Additionally, if the handle is stuck, it may be challenging to move it, preventing you from turning the valve as needed.
How To Fix
There are a few steps you can take to fix a malfunctioning toilet shut-off valve handle:
- Turn off the water supply: Before attempting to fix the handle, it’s important to turn off the water supply to the toilet. Locate the main water shut-off valve for your home and turn it off. This will prevent water from flowing to the bathroom while you work on the handle.
- Inspect the handle: Once the water supply is shut off, inspect the handle to determine the cause of the issue. If the handle is broken, you’ll need to replace it. If the handle is stuck, you’ll need to free it.
- Replace the handle: If it is broken, you’ll need to replace it with a new one. You’ll need to remove the old handle and install the new one by following the manufacturer’s instructions.
- Free a stuck handle: If the handle is stuck, you can try to free it by gently wiggling it back and forth. If this doesn’t work, you may need a penetrating oil or lubricant to loosen it.
- Turn the water supply back on: Once you’ve repaired or replaced the handle, you can turn the water supply back on. Open the main water shut-off valve and check the handle and valve for any signs of leaks or other issues.
5. Worn-Out Valve
When a toilet shut-off valve becomes worn out, it can cause the valve to stop working correctly and can lead to several issues.
There are several signs that a toilet shut-off valve may be worn out and needs replacement:
- A leak in the valve. This can occur if the valve is not sealing properly, allowing water to escape.
- Reduction in water flow to the toilet. This can be caused by a buildup of sediment or debris in the valve, which can block water flow.
If a worn-out valve is not replaced, it can cause serious problems. If the valve is not sealing correctly, it can lead to water waste and higher water bills. In addition, a leaky valve can cause water damage to the surrounding area, which can be costly to repair.
How To Fix
To fix a worn-out toilet shut-off valve, you’ll need to replace it with a new one. This can be a relatively straightforward process, but it is important to follow proper safety procedures and use the correct tools.
To do this, you’ll need to:
- Turn off the main water supply to the home: Before attempting to replace the valve, it’s important to turn off the water supply to the home or toilet. This will prevent water from flowing to the bathroom while replacing the valve.
- Locate the shut-off valve. The shut-off valve is typically located behind the toilet or in the wall near the toilet’s base.
- Loosen the nuts on either side of the valve. Use a wrench to loosen the nuts on either side of the valve to allow you to remove the old valve and install the new one.
- Install the new valve. It is important to use a valve that is the correct size and type for the toilet and plumbing system. You’ll also need to follow the manufacturer’s instructions to install the new valve properly.
- Tighten the nuts and turn the main water supply back on. Once the new valve is installed, you can use a wrench to tighten the nuts and secure them before turning the main water supply back on.
- Test the valve to ensure it is functioning correctly and that there are no leaks. If you experience any issues or the valve is not sealing correctly, you may need to readjust the valve or seek the assistance of a professional plumber.
6. Loose Connections
When connections to the toilet shut-off valve become loose, it can cause the valve to stop working correctly and can lead to several issues.
Loose connections to the toilet shut-off valve can occur for various reasons:
- Improper installation of the valve. If the valve is not installed correctly, it can cause the connections to become loose over time.
- Wear and tear. As the valve ages, the connections can become loose due to normal wear and tear, corrosion, or other damage.
If loose connections to the toilet shut-off valve are not addressed, it can lead to water waste and higher water bills. In addition, a leaky valve can cause water damage to the surrounding area, which can be costly to repair.
How To Fix
To fix loose connections to a toilet shut-off valve:
- Turn off the main water supply to the home. This will prevent water from flowing to the toilet while tightening connections.
- Locate the connections on either side of the valve. These connections are typically located behind the toilet or in the wall near the toilet’s base.
- Use a wrench or pliers to tighten the connections. Be careful not to over-tighten the connections, as this can cause the valve to become damaged or may even break the valve.
- Test the valve to ensure it is functioning correctly and that there are no leaks.If the valve is still not functioning correctly or you cannot fix the loose connections, you may need to seek the assistance of a professional plumber.
7. Freezing Temperatures
In colder climates, freezing temperatures can cause the toilet shut-off valve to stop working correctly. When temperatures drop below freezing, the water in the pipes can freeze, which can cause the shut-off valve to become blocked or stuck in place.
When the water in the pipes freezes, it expands and can put pressure on the pipes and the toilet shut-off valve. This pressure can cause the valve to become damaged or even break. In addition, frozen water can block water flow to the toilet, preventing the valve from functioning correctly.
There are a few steps that homeowners can take to prevent the toilet shut-off valve from becoming damaged or frozen due to freezing temperatures:
- Insulate exposed pipes and the toilet shut-off valve. Wrapping exposed pipes and the toilet shut-off valve in insulation can help protect them from freezing temperatures.
- Let the faucets drip during cold weather. Allowing cold water to drip slowly from the faucets can help prevent the water in the pipes from freezing since it keeps the water in motion.
- Keep cabinet doors open. Keeping cabinet doors open to expose the pipes and shut off valves to warm air can help prevent the water from freezing.
How To Fix
When dealing with frozen valves, it is best to seek the assistance of a professional plumber. A qualified plumber can locate and thaw the frozen pipes and replace any valves that have been damaged due to freezing temperatures.
Here are the steps a plumber may follow to repair or replace a damaged toilet shut-off valve due to freezing temperatures:
- Turn off the main water supply to the home. This will prevent water from flowing to the toilet while the valve is being repaired or replaced.
- Locate the damaged toilet shut-off valve. This valve is typically located behind the toilet or in the wall near the toilet’s base.
- If the valve is damaged but still functional, the plumber may be able to repair it by tightening any loose connections or replacing any damaged parts. If the valve is broken or otherwise beyond repair, the plumber will need to remove the valve and install a new one.
- Install the new valve. It is important to use a valve that is the correct size and type for the toilet and plumbing system.
- Turn the main water supply back on and test the valve to ensure it is functioning correctly and that there are no leaks. If the valve is still not functioning correctly or you experience any other issues with your plumbing system, you may need further assistance from a professional plumber.
Summary
When a toilet shut-off valve is not working correctly, it could be due to several issues, such as loose connections, freezing temperatures, a broken valve, or more.
Hiring a professional plumber to inspect the valve and repair or replace it, if necessary, is the best way to ensure your toilet shut-off valve is working correctly. However, if you are confident in your ability to repair or replace the valve, doing so can save you money and time.