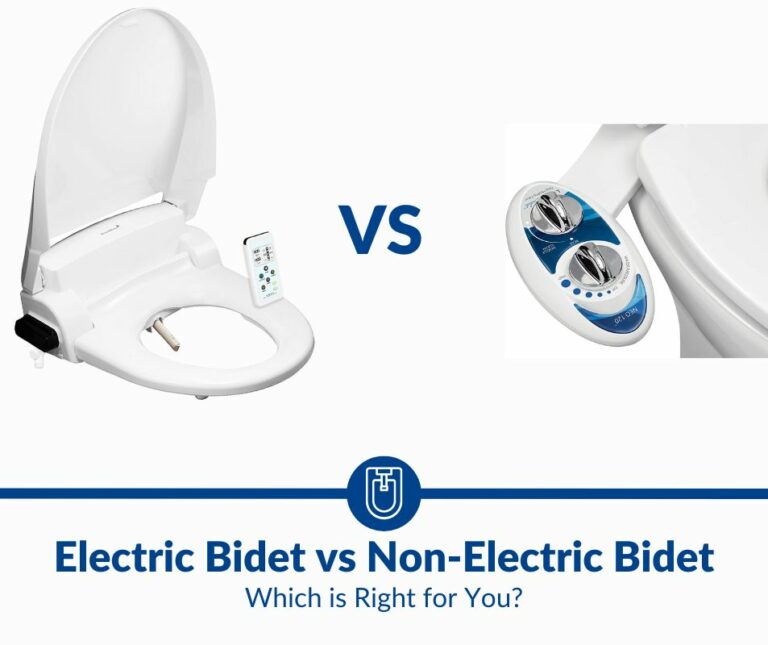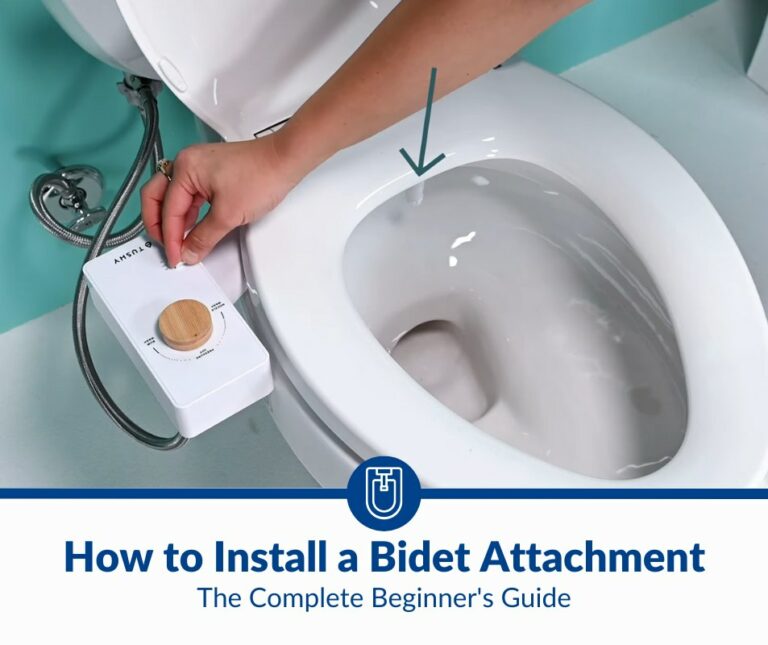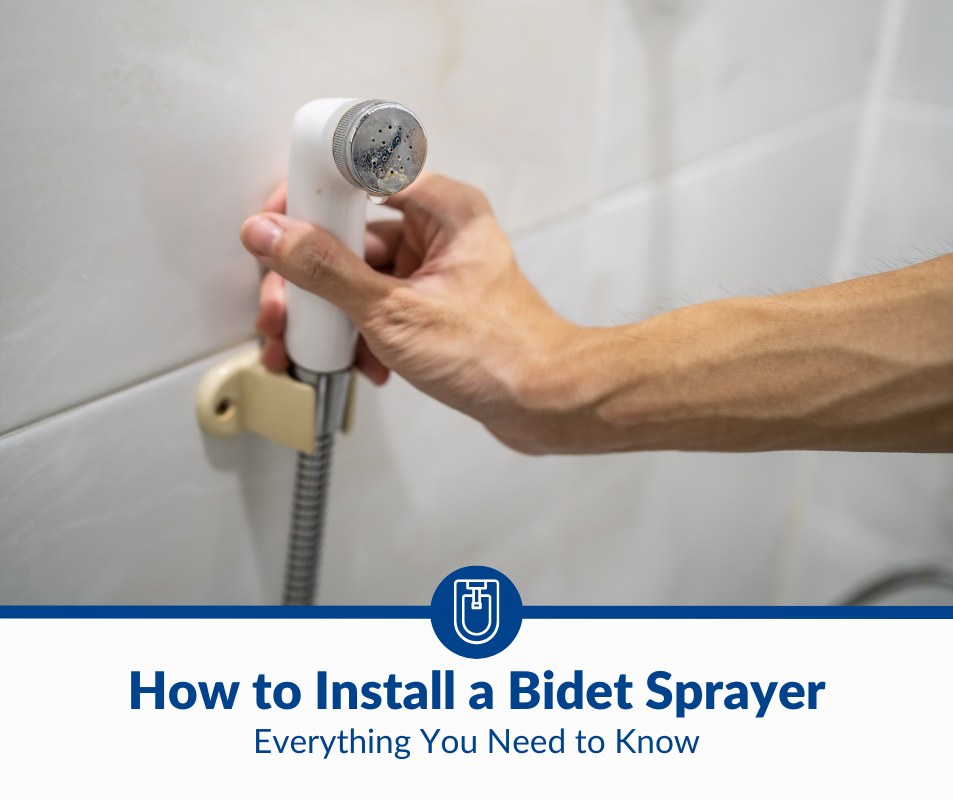
How To Install a Bidet Sprayer: Installing a Handheld Bidet
Understanding how to install a bidet sprayer can be a turnkey process for you without any tools if you have a standard toilet with typical fittings and an accessible water supply line. But unique toilets and configurations require compatible adapters and tools. So, here’s how to install a handheld bidet.
Install a bidet spray for a standard toilet by connecting the T-adapter to the tank fill valve to divert or split the water supply line into two for the handheld sprayer hose. Mount the bidet spray holder on the tank or wall. Bidet sprays with mixers require a hot water line.
Installing a handheld bidet also referred to as an attachment, spray head, or sprayer, won’t be a plug-and-play process if you have an unusual toilet configuration, such as a concealed tank or a tankless system, inaccessible plumbing, etc. Keep reading to learn how to install a bidet spray.
1. Verify the Compatibility of All the Bidet Sprayer Fittings
You are probably familiar with a hand shower or a handheld showerhead. A bidet spray for your toilet or a handheld bidet attachment having a sprayer or spray head is technically the same, but the purpose is different, of course. The most noteworthy difference is the water supply line.
Generally, a bidet sprayer or handheld attachment connects to the water supply line for the toilet tank at the fill valve. Most of the standard toilets here in the US have a flexible hose between the water supply shut-off valve behind or next to the toilet and the fill valve of the tank above.
The tank may be detached in two-piece toilet configurations or attached in a one-piece design. In both cases, the flexible hose uses a typical 7/8-inch port with a lock nut to connect to the tank’s fill valve. This port is the most important fitting criterion for handheld bidet sprays.
A simple bidet spray or handheld attachment with only a cool or room-temperature water supply line doesn’t require any other fitting. Hence, the installation is inexplicably simple, but you could have a complication if you have a unique toilet or can’t access the tank’s water inlet or fill valve.
The incompatibility is unlikely to be relevant for most American houses and apartments, but you may live in New York where flushometers aren’t rare in residential properties or if you have high-level toilets, which may be the case if it is an old building.
You should ideally verify the compatibility of all the bidet spray fittings before you buy a specific model of a brand you like. If you haven’t done that, check your fittings and the bidet spray kit to ensure everything is compatible. You don’t have to worry about this if you have a standard toilet.
2. Install the T-Adapter for the Handheld Bidet Sprayer
Handheld bidet attachments or sprayers usually have a T-adapter in the kit. You should connect the diverter to the tank’s fill valve and flexible hose.
Here are the steps to install the T-adapter for a handheld bidet:
- Close the water supply shut-off valve for the toilet tank, which is generally behind or beside the bowl. This valve may have a handle or knob that you can turn clockwise to shut the valve. A quarter turn will do for many valves. Else, keep turning until it closes.
- Flush the toilet to empty the tank, so there is no risk of large quantities of water dripping through the fill valve after removing the hose connector. You can get a towel or a vessel to collect any water remaining in the hose, even after flushing the tank.
- Locate the locking nut of the flexible hose under the tank fill valve and unscrew it. A two-piece toilet should have a readily accessible hose. One-piece skirted toilets can make it difficult to access the locking nut, but you might get to it with little effort.
- Unthread the locking nut of the tank hose and fit the female connector to the male port of the T-adapter. The flexible hose will likely have a 7/8-inch female connector that you can connect to the 7/8-inch male port of the T-adapter provided in the bidet spray kit.
- Fit the T-adapter’s 7/8-inch female connector onto the tank’s fill valve or inlet, and turn the threaded locking nut with your fingers to secure the installation. You don’t need an adjustable wrench or spanner for this. However, you can use one if you want.
- Align this T-adapter’s diverter port on its side so that it faces outward and toward the toilet or the preferred direction, depending on how you want to install the bidet spray. Mounting the handheld bidet on the tank or wall will likely influence the alignment.
3. Connect the Flexible Hose to the T-Adapter and Bidet
Most bidet sprays or handheld attachments use a flexible hose, usually a braided steel pipe. This flexible hose is included in all bidet spray kits. The hose connects to the T-adapter or diverter. The hose will likely have a 1/2-inch port with a locking nut to connect to the T-adapter.
If you align the T-adapter with its 1/2-inch male port on the side facing the toilet or toward the handheld bidet, connecting the flexible braided steel hose should take you a few seconds. The exact mechanism may vary, as the hose can have a quick lock system or a threaded nut.
Depending on the model of your handheld bidet spray, the flexible hose may have a plastic cap on one or both ends. You must remove this cap before installation. If the alignment isn’t perfect, you can turn the wing nut under the toilet tank to position the T-adapter as per your needs.
In most cases, you won’t need a tool to connect the flexible hose to the adapter and bidet. If the bidet already has the hose attached to the spray head, you have to only connect the other end to the T-adapter. A handheld bidet without a hose connected to the spray head or sprayer may have a quick lock mechanism or a threaded locking nut that you can turn with your fingers.
The female and male ports of the flexible braided steel hose and the T-adapter use washers to prevent leaks and secure the connections. You must check if the rubber washers or other seals, such as O-rings, are inside the adapter and hose ports to ensure a secure installation.
Some people use plumber’s tape so that such connections are watertight. Most contemporary bidet sprays or handheld attachments don’t require plumber’s tape because they already have a rubber washer for every connector, whether it’s the adapter or the flexible hose.
4. Mount the Handheld Bidet Spray on the Tank or Wall
Most bidet sprays as handheld attachments have 2 mounting options. The kits usually include a holder for the spray head that you can simply hang from the edge of a toilet tank. The same holder can be used with a screw to mount the bidet on the wall if you want a firmer fitting.
The typical handheld bidet spray holder that hangs from the edge of a toilet tank isn’t the most secure installation. The bidet spray head, along with its hose, will basically dangle as the base isn’t firmly fixed or screwed into a structure. Hence, you may prefer a wall-mounted bidet spray.
The only issue with a wall-mounted handheld bidet is the fact that you have to drill a hole and mount the holder. If you aren’t deft with a drill and mounting fixtures on the wall, this installation may be anything but turnkey. That said, a bidet spray hooked to a toilet tank will work the same.
5. Use a Warm Water Line for Bidet Sprays With Mixers
Inexpensive bidet sprays are unlikely to have a mixer or mixing valve to use both cool and hot water lines. If you get a handheld bidet with this feature, you need to connect the mixing valve to the hot water line of your bathroom sink. Such bidets will have a second longer hose for this.
The longer hose may be similar to the braided steel pipe for the regular water line. Some bidets may use a polyurethane tube or another material for the hose. Nonetheless, the installation will likely be the same process.
Here are the steps to connect a bidet spray with a mixing valve to a warm water line:
- Close the shut-off valve for the hot water line under or next to your bathroom sink. If you aren’t sure how hot the valve’s knob or handle is, use a towel or rag for safety. You may not need any tool to turn the shut-off valve, but you can use a spanner or wrench.
- Get a pot or vessel before removing the hose to collect the little water inside it. If the line had hot water running until now or still has up to the shut-off valve, exercise a bit of caution while removing the hose.
- Unthread the locking nut of the hot water hose at the shut-off valve to remove it from the supply line. This locking nut isn’t as big as the one on a flexible hose fitted to the toilet tank’s fill valve, so you might need a spanner or adjustable wrench.
- Get the T-adapter from the bidet spray kit. This diverter is likely smaller than the one you use under the toilet tank for the regular water line. But the installation is similar. You need to thread in the fittings of the T-adapter at the respective connecting ports.
- Fit the T-adapter’s top male port into the female locking nut of the hot water hose and the bottom female port onto the shut-off valve. The threaded female ports have locking nuts you can turn and tighten by hand. Use a wrench or spanner at the valve.
- Align the T-adapter’s diverter or side port toward the toilet or bidet and connect the long flexible hose that you have in the kit. Ensure the washer is in the hose on both ends as you connect it to the hot water line’s T-adapter and the mixing valve.
The mixing valve is the adapter and connector for bidet sprays with cool and hot water lines. You won’t have the standard T-adapter that a handheld bidet uses for only one water line. But the steps to install a mixing valve are the same as connecting the T-adapter in step 2 above.
6. Open the Water Shut-Off Valve(s) and Check for Leaks
Open the water shut-off valve for the toilet tank and the one for the hot water line to your sink if the bidet uses it. Wait for a minute or so to check for leaks. A perfect installation shouldn’t have any leakage. If you find water dripping from anywhere, check that connection or fitting.
Misaligned connections and incompatible fittings can cause leaks. Don’t rule out the possibility of inadvertent cross-threading when you turn any of the locking nuts. If you have quick connect systems for the flexible hose or another type of fitting, ensure they are snugly fitted and aligned.
Depending on the brand and model, many bidet sprays have a shut-off valve or stopper at the T-adapter or mixing valve. You must open this valve before checking for leaks. Also, you can shut this valve when you don’t use the bidet so it doesn’t have a constant water supply pressure.
7. Test Water Pressures and Mixers (Some Bidet Sprays)
After you check for leaks, hold the handheld bidet over the toilet and spray water into the bowl.
Many of the simplest bidet sprays usually have three lever positions for the following purposes:
- Off: Default, no spray
- Press: Hold and spray
- Pull: Continuous spray
The press and pull positions may not have varying water pressures unless a bidet has a valve at the T-adapter that you can regulate. While the press position needs you to hold to spray a bidet, the pulled-back lever will stay fixed while spraying water until you push it back to turn it off.
Test these features if you have a mixing valve with a pressure regulator. You can toggle the mixer valve to check if water from the cool or normal and hot lines are mixing as you desire. And check if the water pressure increases and reduces as you turn the shut-off valve or stopper.
8. Use a Newly Installed Handheld Bidet Spray Properly
If you have never used a handheld bidet before, you may need to be familiar with how you must hold and move the spray head or sprayer while washing. The direction of the water jet is more important for people using handheld bidet sprays for both anterior and posterior washing.
Here are the best practices for using a newly installed bidet spray safely and effectively:
- For anterior washing, you should hold the bidet sprayer or spray head in the front and move it slightly toward the back. Then, you can lower the bidet spray a little and aim the water jet toward the middle and rear parts of your anterior for a complete rinse.
- For posterior cleaning, you should first use the handheld bidet to spray water in a top-down direction. Then, lower the spray head in a slanted position, still aiming down, for a thorough wash. Don’t aim a handheld bidet to spray straight from your back to front.
- If you use a handheld bidet with a mixing valve for regular and warm water, always spray a bit into the toilet bowl to gauge its temperature. This safety recommendation applies to both anterior and posterior cleaning.
Most handheld bidet kits include a manual to simplify the installation process, but not all brands offer detailed instructions on how to use the spray. The above approach should help you to get started, and most newbies quickly become familiar with the nuances of using bidet sprays.
How To Install a Bidet Spray With Incompatible Fittings
Most companies include standard T-adapters and hoses in their bidet spray kits. If a fitting isn’t compatible with your plumbing fixtures, such as the hot water shut-off valve for the sink, you will need an appropriate adapter with the required bore size or diameter.
Suppose you have a 1/2-inch compression fitting at the sink’s shut-off valve, and the T-adapter has 3/8-inch ports. In such a scenario, you’ll need a diverter with ½-inch female and male ports. Similarly, alternatives are necessary for plumbing systems using 5/8-inch fittings or other sizes.
How To Install a Handheld Bidet for Incompatible Toilets
A handheld bidet should be a simple installation for most one-piece and two-piece toilets with a flexible hose running from the water supply shut-off valve to the tank. If you have a hard pipe for the toilet tank, you might require a flexible hose to replace it so you can install the bidet.
If you want to install the bidet’s T-adapter at the water shut-off valve instead of the tank’s fill valve. This situation isn’t unheard of for one-piece skirted toilets with sleek tanks that make the fill valve almost inaccessible.
Also, limited space behind a toilet or under a tank might be an issue for sleeker models that are nearly or totally flush with the wall.
In such a scenario, you may need to get a compatible T-adapter because the standard diverters of most handheld bidets are unlikely to have the smaller connector for the compression fitting of a shut-off valve. Flexible hoses have larger fittings than those of residential shut-off valves.
If your toilet is tankless or has a concealed tank, you may not have a readily accessible water supply line for a bidet spray. You can use the sink’s regular water line for a handheld bidet spray, but you will need an adapter and a longer hose. The same option applies to flushometer toilets.
Final Thoughts
Always check your toilet configuration and plumbing fixtures, including the fittings, before buying a bidet spray if you think your setup may not facilitate a turnkey installation. Otherwise, installing a handheld bidet spray shouldn’t take longer than 2 to 3 minutes without any special tool.