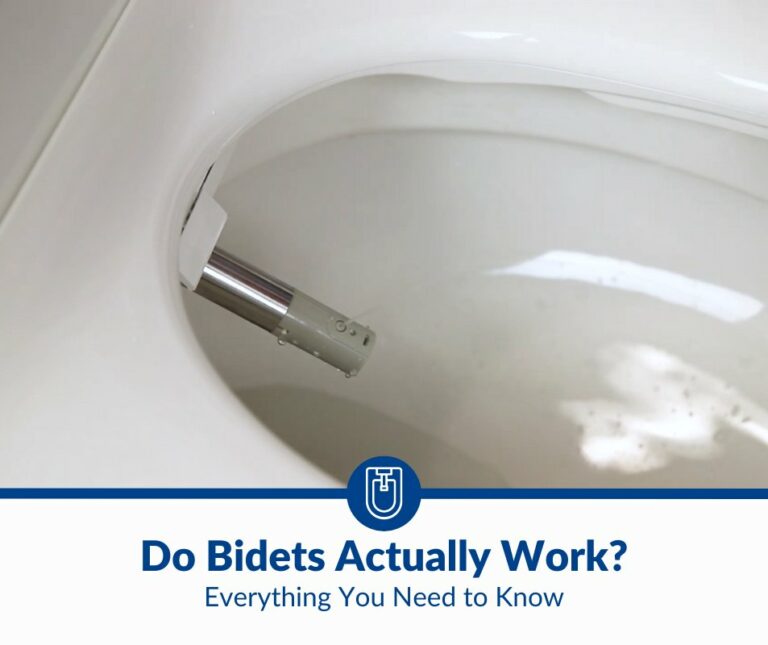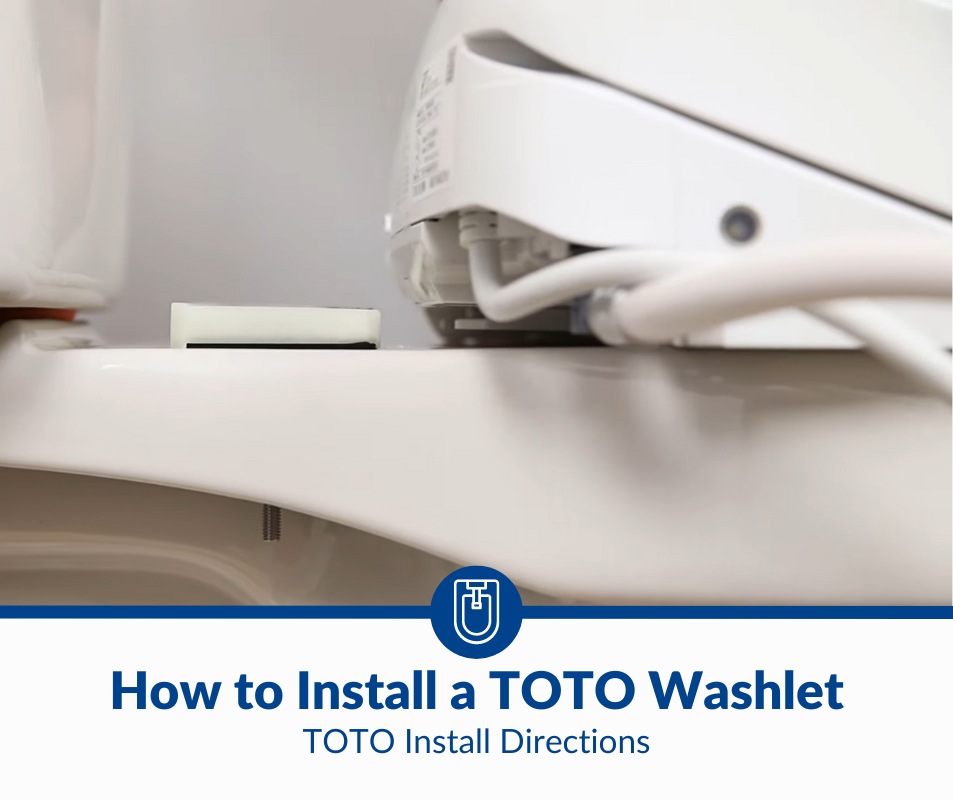
How To Install a Toto Washlet Bidet: Toto Install Directions
Installing a Toto Washlet isn’t very different from attaching and mounting most bidet seats of any well-known brand. Of course, some specific steps may need some tweaking if your toilet configuration or setup demands so. So, how do you install a Toto Washlet?
To install a Toto Washlet, replace the current toilet seat with the bidet and connect it to the water inlet hose under the tank. Use the provided mounting plate on the bowl, and align the bidet seat for a flush installation. Toto Washlets also require a 120V GFCI outlet.
Installing Toto Washlets is a cakewalk for most two-piece and one-piece toilets with elongated or round bowls. You’ll get all the fittings in the kit, but you must have a few tools, such as flathead and Phillips screwdrivers, a spanner, a wrench, etc. Read on to know how to install a Toto Washlet.
1. Close the Water Supply Shut-Off Valve
All Toto Washlets use the water supply line to the tank, which has a shut-off valve behind or next to your toilet. You must close this water supply shut-off valve to prepare for the installation. Your shut-off valve will likely have a handle or knob that you can turn to close the water supply line.
Generally, clockwise turns close shut-off valves. Ball valves with handles or knobs require a quarter turn to your right, while gate valves with wheels require a few more turns until the shut-off valve is fully closed. The water supply lines to toilet tanks usually have ball valves.
You don’t need a spanner or wrench to close the shut-off valve. However, the handles or knobs are sometimes too tight and tough to turn. This is primarily due to a buildup of mineral deposits. Use an adjustable wrench if you can’t shut the valve with your fingers.
2. Remove the Toilet Seat From the Bowl
Toto Washlets are bidet seats. Unlike bidet attachments or consoles, Washlets don’t require the toilet seat you have now, and you should remove it entirely. While standard toilets with regular seats are fastened to the 2 mounting holes on the bowl, the exact mechanism isn’t identical.
Here are the steps to remove your toilet seat from the bowl:
- Check the type of fittings behind the toilet seat to determine the tools you need. Most toilets have caps covering the screws in the 2 mounting holes behind or under the seat. You can flip these caps or use a flathead screwdriver to pry them open.
- Many toilets have a quick-release mechanism for the seats, which are unlikely to have accessible fittings unless you remove the seat first. Look for the release tab and press it to detach the seat; you’ll find the bolts, nuts, pins, screws, etc.
- Use a flathead or Phillips screwdriver to remove the screws from the mount holes of the bowl. You can take the screws out from the top for a skirted toilet. If you have a non-skirted toilet, hold each nut under the bowl with one hand and unscrew from above.
- Take the toilet seat off after removing the screws unless you have a quick-release model. A quick-release system will already have the seat off the toilet before you take the screws out. Keep your toilet seat and fittings safe, as you may need to use them later.
3. Clean the Toilet Bowl and Drain the Tank
With the old seat off your toilet, you can conveniently clean the bowl and then empty the tank. If your bowl is relatively clean, ideally, you’ll only need to wipe the surface around the mounting holes or the top. A Toto Washlet will occupy almost the whole flat top of the toilet bowl.
Drain the tank so there’s no risk of leakage when you remove the tank inlet hose from the fill valve. Even if you have an anti-siphon fill valve that prevents backflow from your toilet tank to the plumbing or supply line, you don’t know if the system is functioning flawlessly.
If you have a toilet tank that still uses older fill valves (that are vulnerable to backflow due to the siphoning effect), it’s advisable to upgrade that system because it likely won’t meet the code requirements.
4. Unscrew the Tank Hose From the Inlet
Standard tank hoses have a threaded nut connected to the fill valve assembly or inlet. You can turn the threaded nut with your fingers to unscrew it. If it’s too tight, use a spanner or wrench. You may also need a tool if the tank’s inlet isn’t readily accessible, common for one-piece toilets.
One-piece toilets that are installed almost flush to the wall can have very little space next to and under the integrated tank. Also, sleeker skirted toilets with slender tanks don’t offer much room for you to access the inlet and remove the threaded connector by hand. An adjustable wrench is handy in such cases.
Place a pot or towel directly under the tank’s inlet before you unscrew and remove the hose, as there may be some residual water.
5. Fit the Toto T-Adapter Into the Fill Valve
Toto Washlets use a T-adapter to connect the following fixtures:
- Flexible hose
- Tank fill valve
- Washlet hose
The junction connectors or diverters of Toto Washlets serve the same purpose as the standard T-adapters you’re probably familiar with. However, Toto’s T-adapter is a bit different because the connecting port to the side is specifically for the Washlet’s hose or inlet pipe and its fastening mechanism.
Nonetheless, you should align the Toto T-adapter with its large female fitting toward the tank and turn the threaded nut to lock it. You can use your fingers to secure the nut. However, don’t over-tighten it, and don’t cross-thread the locking nut, or it won’t fit or tighten as required.
6. Connect the Tank Hose to the T-Adapter
Take the detached tank hose and thread its female fitting onto the Toto T-adapter’s smaller male connector. Ensure the diverter to the side of the T-adapter faces outward from the tank or toward the toilet. Toto Washlets don’t have the inlet port at the same place, so align accordingly.
A Toto Washlet can have the hose connected to the rear or the side of the bidet seat, and neither is likely to be a problem as these hoses aren’t hard. You can get the hose to swivel a bit, connecting it to the T-adapter. However, the T-adapter’s diverter must still be easily accessible.
Check the o-ring or round rubber washers inside the T-adapter when you fit it into the tank and hose. These washers should be inside to have a leak-proof connection or fitting. Also, you should use the tank’s fill valve assembly or inlet, not the hose connecting to the supply shut-off valve.
If you have a hard pipe or the tank’s inlet is inaccessible, get a flexible hose or find a water supply line that will work with the Toto Washlet T-adapter. Alternatively, you must reconfigure the entire installation based on the adapters you require for the setup.
7. Install the Toto Washlet’s Mounting Plate
All Toto Washlets have a mounting plate. The design and materials may vary, but all plates have a similar mechanism and serve the same purpose. You’ll need to align and secure this plate on the toilet bowl’s mounting holes, which are now accessible with the old seat removed.
Here are the steps to install a Toto Washlet’s mounting plate:
- Take the mounting plate from the Toto Washlet kit, and unthread the rubber bolts from the screws. The fittings hardware includes 2 top-mounting rubber bolts that you can insert with the screws attached. However, separating them makes the job easier.
- Wet the rubber bolts to easily insert them into the mounting holes on your toilet bowl. These bolts aren’t unusually large or thick, but they can be a little hard to push through some mounting holes, which is also why separating the screws helps.
- Insert the rubber bolts into your toilet bowl’s mounting holes and place your Toto Washlet’s plate on top. Align the mounting plate properly using the engravings or markings on it. Toto Washlet plates have ‘back’ and ‘front’ indicators for easy installation.
- Take the 2 screws and use a Phillips screwdriver to install and secure the Toto Washlet mounting plate. Don’t tighten these screws all the way down at this stage, as the Toto Washlet’s seat should be flawlessly aligned before you fit everything snugly.
- Adjust the mounting plate itself when you tighten the screws to an extent. These adjustments vary for elongated and round toilets. Also, your specific Toto Washlet model may warrant less or more clearance between the mounting plate and the tank.
These steps to install a Toto Washlet mounting plate apply to all compatible toilet configurations, such as the following:
- One-piece skirted toilet
- Two-piece non-skirted toilet
- Elongated or round toilet bowl
You can also install a Toto Washlet on a wall-hung toilet as long as there is a water supply line with a shut-off valve behind or next to it.
Some users don’t remove the rubber bolts from the screws. Instead, they install the mounting plate as an assembled piece. I don’t recommend this approach because these mounting plates have plastic parts. Only the clasps to lock the seat are metal in some Toto Washlets.
You don’t want to break or damage any plastic mounting plate components. Also, the 2 rubber bolts with the screws threaded in may not flex much when you push them into the mount holes of a toilet bowl. If you have a non-skirted toilet, you can insert the slender tips and pull the rubber bolts from under the bowl. However, removing the bolts from the screws is a lot simpler.
8. Install the Toto Washlet Seat on the Plate
The base or mounting plate of every Toto Washlet has a locking mechanism to securely hold the bidet seat. Slide the Toto Washlet bidet seat over the rim of the toilet bowl until you hear a click. This click sound confirms that your Toto Washlet is locked onto the base plate.
If you don’t hear the click, your bidet seat isn’t secured by the clasps or locking tabs of the base plate. Realign and slide the bidet seat properly to install your Toto Washlet. If the mounting plate is perfectly aligned, your Toto Washlet bidet seat will likely be flush with the toilet bowl’s rim.
9. Adjust the Toto Washlet and Base Plate
Suppose your Toto Washlet isn’t perfectly aligned on the toilet bowl or its rim. The problem may be the bidet seat or mounting plate in such scenarios. You may need to adjust one or both to have a flush installation.
Here are the steps to adjust the Toto Washlet bidet seat on the mounting plate installed on your toilet bowl:
- Take off the Toto Washlet from the base or mounting plate by pressing the release button on the right side of the seat. Some Toto Washlets don’t have a release tab or button. Instead, there is a cap you must pry open with a screwdriver to press the tab.
- Move the Toto Washlet backward or forward based on your misalignment. You can also move Toto Washlets sideways on the base plate to mount them perfectly on the toilet bowl. However, the problem may be the mounting plate, and not the bidet seat.
- Remove the Toto Washlet bidet seat and adjust the alignment of the base plate. A base or mounting plate may have to be moved backward, forward, or sideways, so you can perfectly align the bidet seat on the toilet bowl’s rim.
- If the mounting plate has metal inserts, you can toggle them backward or forward using the grooves to move the Toto Washlet forward or backward, respectively. In some models, this converse effect is the most consequential correction for misalignment.
Most standard one-piece and two-piece toilets with elongated or rounded mounting holes have typical spacing between the toilet seat and the tank. However, wall-hung toilets are different, and they may not have a regular elongated or round bowl. Such toilets require a distinct adjustment.
Here’s how you can adjust a Toto Washlet Connect+ or C200’s D-shape version for a wall-hung MH series toilet:
Regardless of the adjustment process to align the Toto Washlet perfectly on the mounting plate, you must tighten the screws into the rubber bolts after you’re happy with the installation. You’ll have to release the Toto bidet seat again to access the base or bracket’s mounting screws.
10. Connect the Toto Washlet’s Inlet Hose
You can connect your Toto Washlet’s inlet hose after or during step 6 in this guide, but some models have the supply line attached to the bidet seat. Hence, installing the Toto Washlet is a more convenient and sometimes a prerequisite to connecting the inlet hose to the T-adapter.
Your Toto Washlet may have a Quick Connect hose that you can simply insert into the side port of the T-adapter. You will hear a click once the hose is connected. Then, you should align the safety lock to ensure the connection is secured.
If your Toto Washlet has a hose with an o-ring and a threaded nut, insert it into the T-adapter’s diverter port to the side until it is engaged. Turn the threaded nut with your fingers until the hose is securely connected. Don’t over-tighten any of these connections or fittings.
Toto Washlets without an inlet hose attached to the bidet seat will require an additional step. You can fit the hose onto the port of the bidet seat and lock it using the threaded nut. Such inlet hose connections are a turnkey installation, and you can plug and play by simply threading them in.
11. Plug the Power Cord Into a GFCI Outlet
All contemporary Toto Washlets are electric bidet seats. These seats are heated, and there are electronic sensors inside Toto Washlets. Hence, your Toto Washlet requires a power source.
You need a 120V GFCI outlet within 3.9 feet (1.18 meters) of a Toto Washlet bidet seat, not the toilet. These power cords extend from the rear or side of a Toto Washlet, so the receptacle must be nearby. You can use an extension cord if you don’t have a 120V GFCI wall receptacle.
You must use a GFCI extension like this Yellow Jacket 120V/15A Cord (available on Amazon.com). The 14/3 AWG SJTW extension cord is 6 feet (1.8 meters) long. Connecting a Toto Washlet to a power outlet or wall receptacle you may have next to your bathroom sink or washbasin should be sufficient.
The Yellow Jacket extension cord will work for most Toto Washlets that draw up to 13 amps of AC current. If you prefer a neat installation, use a few Command Round Cord Clips (available on Amazon.com) to align the extension cable along the sink cabinet or the toilet wall. There are 13 clips in this pack.
12. Open the Water Supply Shut-Off Valve
With everything set, turn on the water supply at the shut-off valve and wait for a minute or so to check for leaks. If you notice any leakage, the T-adapter’s ports or a specific connection might be improperly fitted or loose. Check the fitting where you find the leakage and correct the anomaly.
13. Press the Seat and Test the Toto Washlet
Finally, you should test the Toto Washlet. Any Toto Washlet will likely take a while to boot after you plug it in. However, you will see the LEDs indicating available power instantly. You must press the bidet seat for the Toto Washlet to detect occupancy before testing any function.
The sensor is typically at the rear side of Toto Washlets. This side may look a little elevated when a Toto Washlet sits flush on the rim of your toilet bowl. Press the seat a bit to activate the sensor, and select the rear cleanse or wash using the console or remote.
If the wand emerges under its cover and sprays a jet of water, your Toto Washlet bidet seat is installed properly. Don’t forget to cover the toilet bowl with a plastic sheet or wrap. Otherwise, you’ll have the Toto Washlet’s wand shoot water out of the toilet bowl where it isn’t intended.
14. Mount the Toto Washlet Remote (Optional)
Toto Washlets have a remote for easier controls. You can use this remote as a handheld device, or you can mount it on the wall, perhaps next to the toilet. If you choose to mount the remote on a wall, you must drill a hole and use the mounting plate and screws included in the kit.
Final Thoughts
Most Toto Washlets have a straightforward installation process, and Toto Washlet+ models are also easy to install. The main difference lies in how you route the hose and power cord through the discreet hole in the Toto toilet bowl, which may require a little more adjustment and alignment.